[Summary]How to recover deleted text messages on iPhone X and iPhone 8(Plus) in iOS 11? This guide will show you 5 simple way of recovering deleted messages on iPhone X/8 with/without backup by iPhone SMS Recovery and Phone Transfer.
“There was a terrible thing happened last night that I deleted some important text messages from my iPhone X accidentally! The worst thing is I don’t have any backup. Is there any simple way to retrieve the deleted SMS on iPhone X straightly? Thanks a lot.”—Sara
I’m sure that Sara is not the only one who encountered such a problem. Some massages about working arrangements/credit card bill/school notification or other significant information that will be used later. We may lose them for many reasons, such as delete data by mistake/someone steal your phone/device get broken/restore device to factory reset or other reasons that out of our control. It’s a good habit to back up the important files, but if you don’t, it’s possible to get back the massages that you lost? YES! In this essay, we will let you know SMS recovery from iPhone X with/without in some safe solutions.
Restore Deleted SMS from iPhone X/8 with iPhone SMS Recovery
iPhone X SMS Recovery is an efficient data recovery program that used to restore deleted messages from iPhone X/8/8 Plus for any data loss situations. Not only allows you recover the deleted SMS from iPhone X and iPhone 8(Plus), but also enables you retrieve contacts, photos, videos, notes, call logs, calendars, WhatsApp, documents, apps and more even without any backup file. With the help of this useful program, you can directly restore deleted data from iPhone X/iPhone 8(Plus)/iPhone 7(Plus)/iPhone 6S(Plus)/iPhone 6(Plus) selectively. It provides you with three recovery modes: directly recover from iOS device, recover from iTunes backup files, recover from iCloud backup files. It applies to all models of any iOS system.


- Part 1: How to Recover Deleted SMS from iPhone X Directly
- Part 2: Recover Deleted SMS from iTunes Backup via iPhone SMS Recovery
- Part 3: Recover Deleted SMS from iCloud Backup via iPhone SMS Recovery
- Part 4: Recover Deleted SMS from iTunes Backup via Phone Transfer
- Part 5: Recover Deleted SMS from iCloud Backup via Phone Transfer
- Part 6: How to Backup SMS for iPhone X/8(Plus) Safely
Part 1: How to Recover Deleted SMS from iPhone X Directly
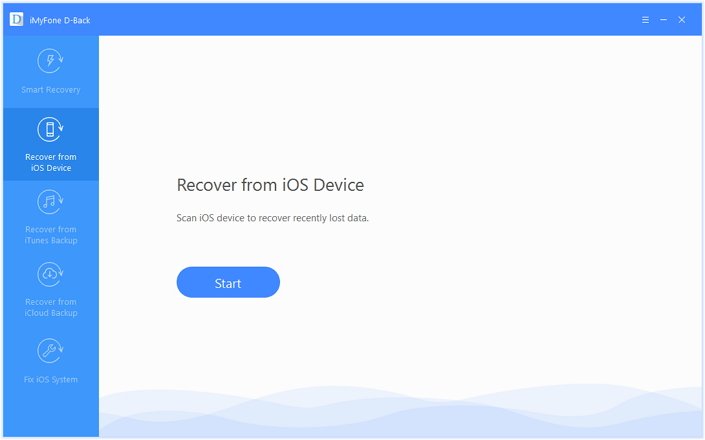
Step 1.Run iOS Data Recovery and Select Recovery Mode
First of all, please launch the iOS Data Recovery on the computer. And connect your iPhone X to the computer. In the primary interface of software, select “Recover from iOS Device” mode. Then click the “Start” tab.
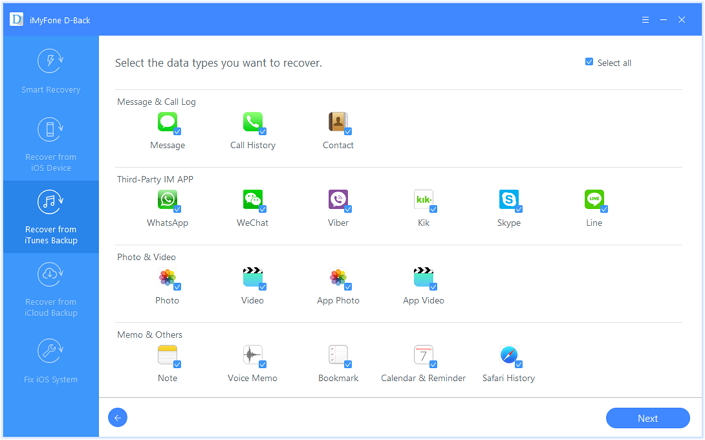
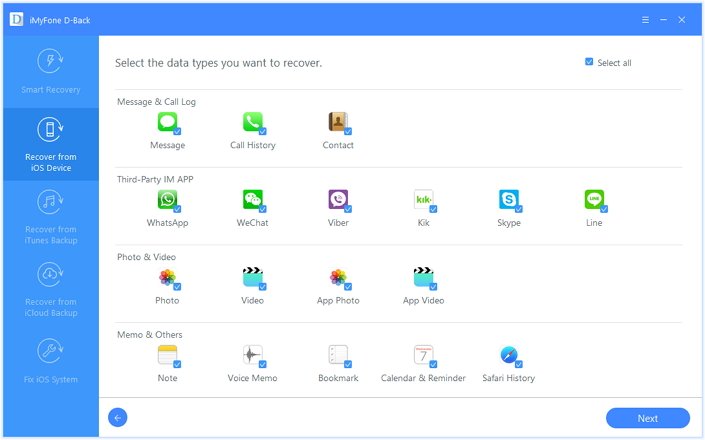
Step 2.Select File to scan
Secondly, you should select the “Message” to be scanned by program. Then click “Next” button, and the program will begin scanning your iPhone X automatically for deleted SMS.
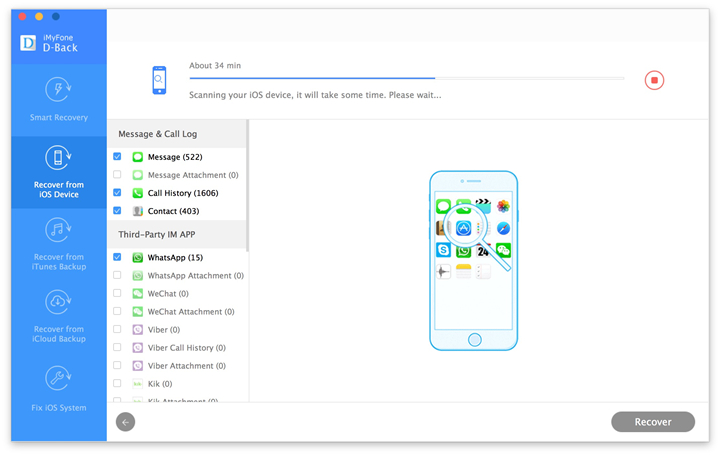
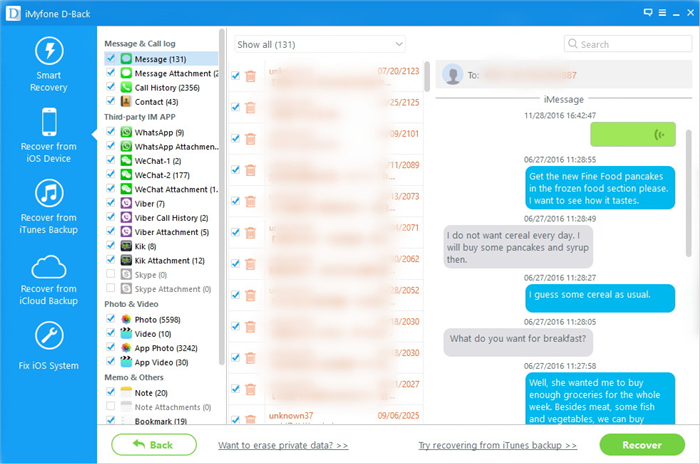
Step 3.Preview and Restore Deleted Message from iPhone X
Finally, the recoverable Message will show up in the window of program after the scanning is finished. You can mark the Message you need, or check missing Message by picking “Show only deleted files” option. Push the “Recover” button to recover selected SMS on your iPhone X.
After that, a dialogue box will be shown asking you which folder you choose to save the SMS just recovered. Select the folder you want and allow the software to accomplish the whole recovery process.
Part 2: Recover Deleted SMS from iTunes Backup via iPhone SMS Recovery
Step 1.Select iTunes Backup File to Scan
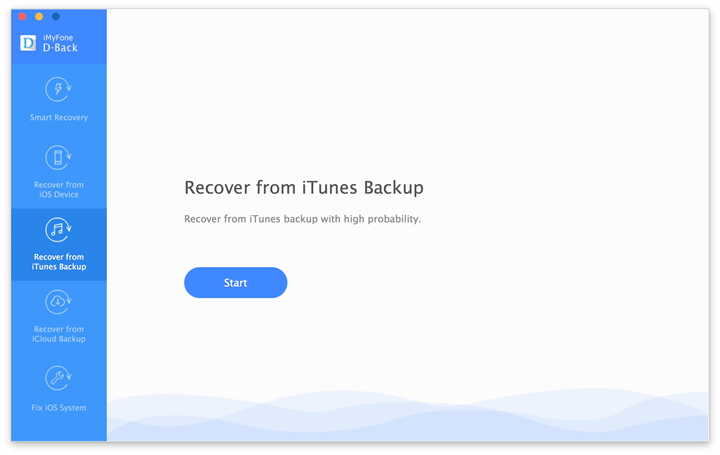
After running this program on the computer, you’ll be lead to the “Recover from iOS Device” mode (the default mode). Select “Recover from iTunes Backup” mode to extract previously backed up data from iTunes.
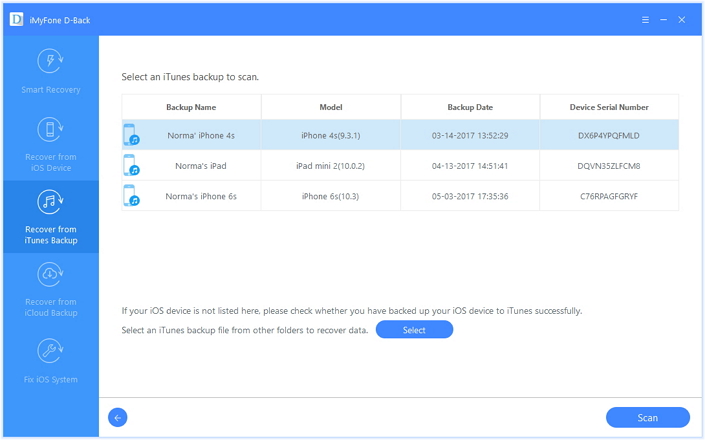
All your iTunes backup data of your iOS devices which has ever synced with iTunes on your computer will be automatically found and listed here. Select the one of yours and click “Start Scan” button to begin iTunes backup extracting.
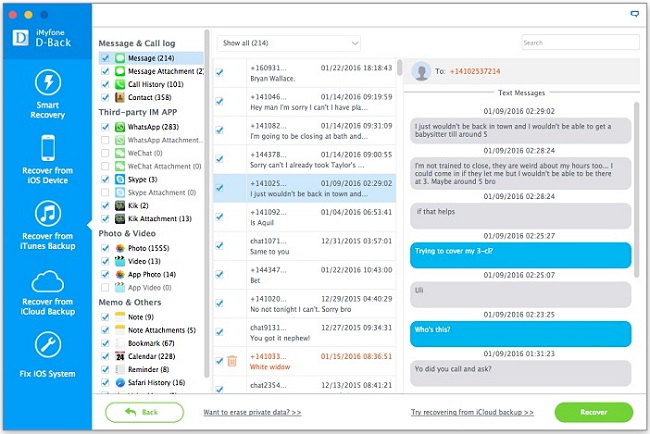
Step 2.Preview and Restore iPhone Messages from iTunes Backup
When the scan finishes, all your files backed up by iTunes can be found and displayed in categories. You can preview them one by one and complete data recovery.
Part 3: Recover Deleted SMS from iCloud Backup via iPhone SMS Recovery
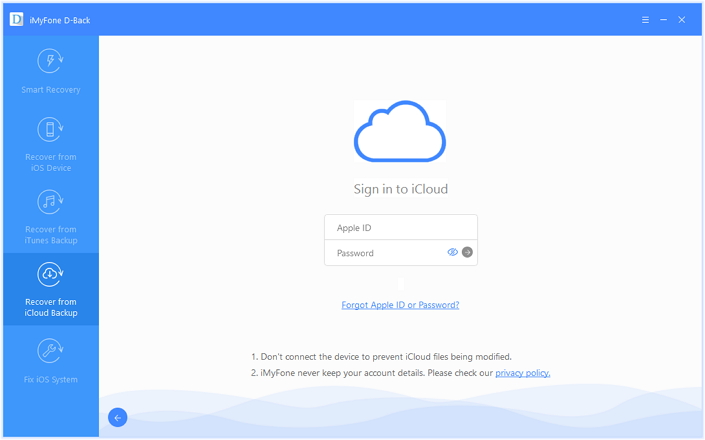
Step 1.Sign in your iCloud Account to Login
Run the iPhone SMS Recovery Program on computer and choose “Recover from iCloud Backup” mode. Enter your ID and Password to get your backup.
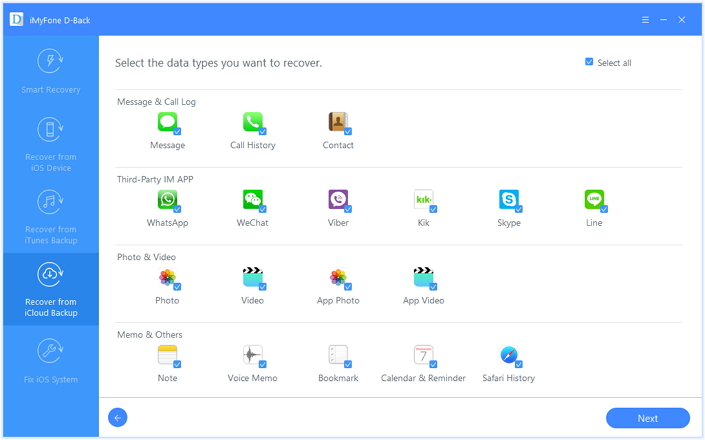
Step 2.Select the Messages Files you Want to Retrieve on iCloud
The program can help you selectively recover the data from iCloud backups,including photos, App photos, videos, notes, contacts, SMS, and more,please select the file types you need. For messages recovery, you should select “Message” file.
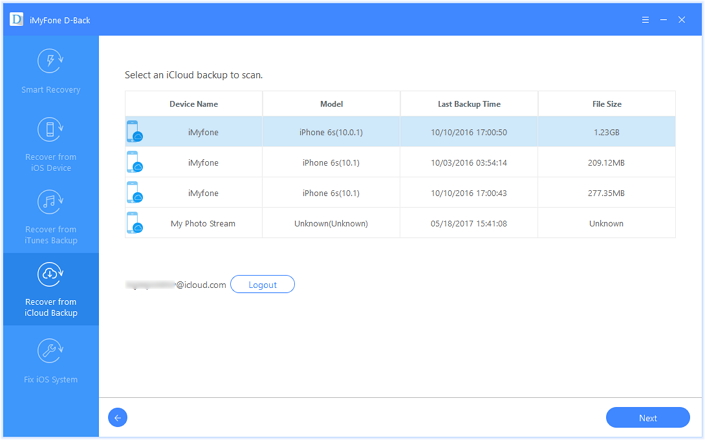
Step 3.Download All iCloud Backup Files
Click “Download” button to download all the backup files from iCloud, and move on to the next step.
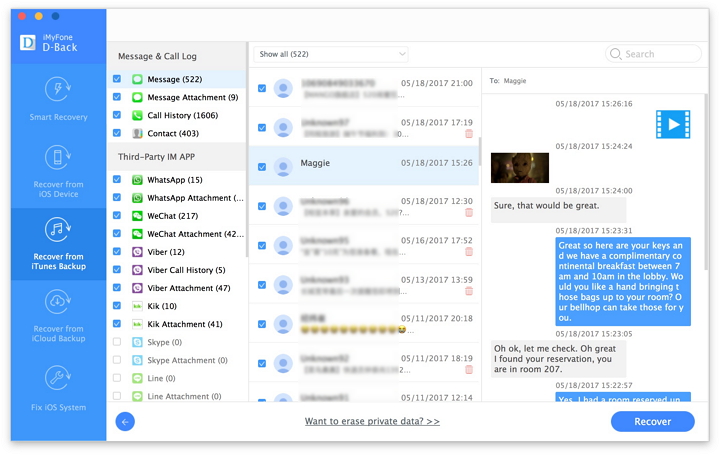
Step 4.Preview and Restore iPhone SMS from iCloud Backup
After the download process is completed, the program will scan and analyze the downloaded data,then it will search the results and list to you,to recover previous iPhone backed up data from iCloud,please select the files you need and preview them before recovery,and then click “Recover” button to save the selected SMS on the computer.
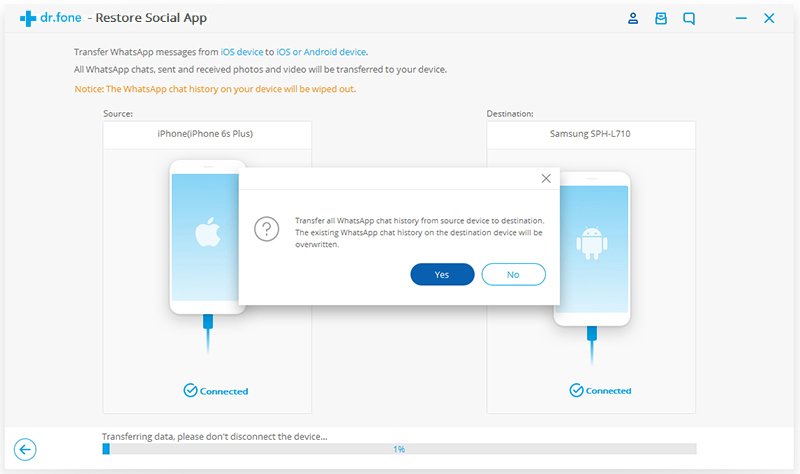
Part 4: Recover Deleted SMS from iTunes Backup via Phone Transfer
The second way here we recommend for you is using Phone Transfer. If you synced iPhone SMS with iTunes before losing data, you can try this solution to restore the deleted SMS on iPhone X.Phone Transfer enable to extract SMS from iTunes backup to iPhone X directly as well as iCloud backup. Except SMS, Phone Transfer allow to restore several kinds of iPhone data, such as, contacts, photos, videos, calendar, music, call history, apps.
Free Download Phone Transfer:
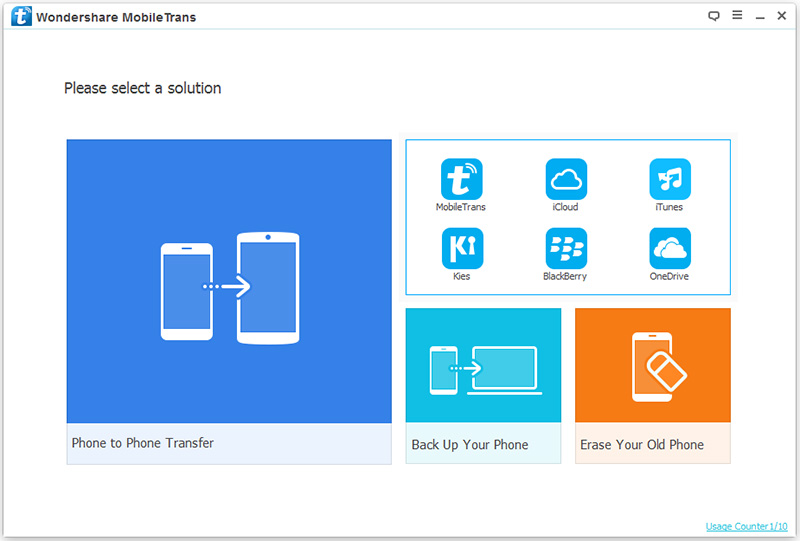
Step 1. Run Program and Select Mode
Click on “iTunes” under “Restore from Backups” option in the primary window of the program.
Step 2. Extract Backup File from iTunes Backup
Select the “Text messages” files to extract from iTunes backup file.
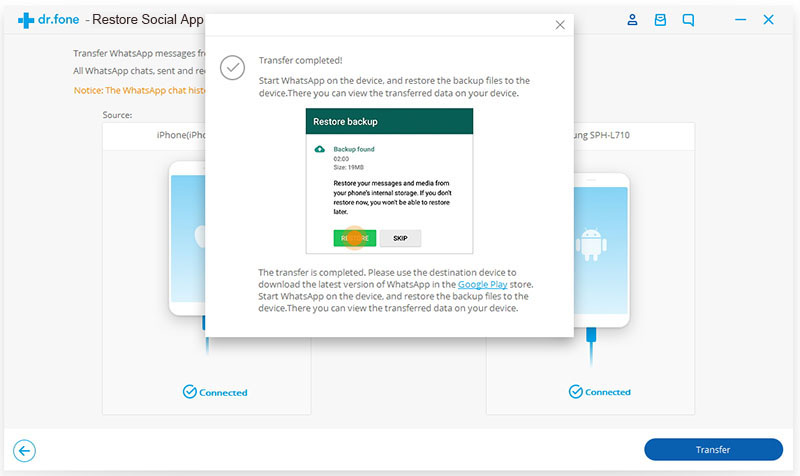
Step 3. Restore Backed Up File to Computer
Download the iTunes files and save it on the computer.

Part 5: Recover Deleted SMS from iCloud Backup via Phone Transfer
Step 1. Run Program and Select Mode
Click on “iCloud” under “Restore from Backups” option in the primary window of the program.
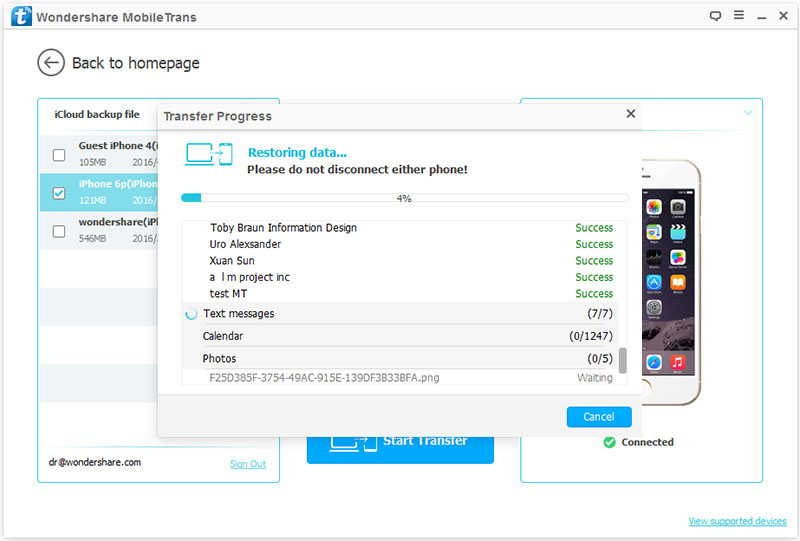
Step 2. Extract Backup File from iCloud Backup
Sign in iCloud account and select the file to extract from iCloud backup.
Step 3. Restore Backed Up File to Computer
Download the iCloud files and save it on the computer or your iPhone X.
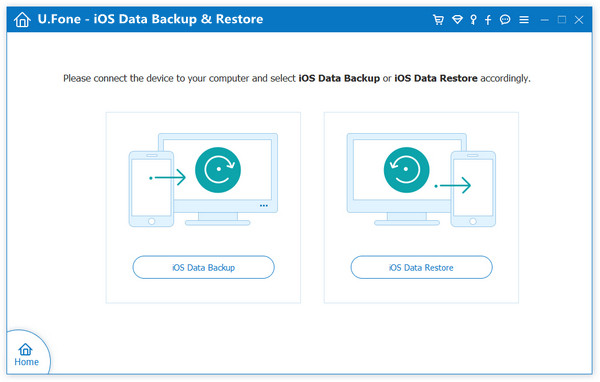
Part 6: How to Backup SMS for iPhone X/8(Plus) Safely
To avoid data loss on iPhone X/8(Plus) or other iOS models, you should be aware of the importance of making backup frequently. To backup SMS for iPhone X/8(Plus) safely on computer, iOS ToolKit – iOS Data Backup & Restore tool is the ideal tool for you. It enables you to backup your data from iOS device to computer with one click , selectively restore backed up to any iOS device, including SMS, contacts, photos, videos, call logs, WhatsApp messages, notes, voicemail, apps data, etc,.
Free Download iOS Toolkit – iOS Data Backup & Restore:
More iPhone Recovery Tutorials You can Check:
How to Recover Deleted Photos from iPhone X
How to Recover Deleted Data from iPhone X
How to Transfer Android Data to iPhone X
How to Import Data to iPhone X from Samsung Android
How to Transfer iPhone Files to iPhone X
How to Backup & Restore iPhone X on the Computer Safely
How to Transfer Videos/Music/Photos to iPhone X
How to Manage Files for iPhone X on the Computer