“I used iPhone device for 3 years, iPhone 5S, iPhone 6S and iPhone 7. I decide to switch to a new Google Pixel 2 phone in these days. However I am trying to figure out how to transfer the songs and playlist from iTunes library to the new model without complicated steps. Anyone could help?”
Like most people, you may be curious about Android world and be anxious to get out of Apple’s constraint, you may be disgusted with iTunes’s overbearing attitude – you can’t manger your iPhone, iPad or iPod without iTunes. As we know that Apple iOS is a closed operating system that it doesn’t accept the external data from Android or other resources. If you’ve been a long time user of an iPhone device, you may get a huge collection of music in your iTunes. How to deal with the music when you switch a new Android device like Google Pixel 2/2 XL, Samsung Galaxy S9, Nokia 10, Xiaomi Mi 8, or other new Android models?
Because iTunes redefines and file locations and file format in the iTunes software, so that makes it difficult to get your music from iTunes to an Android device. It seem impossible to transfer music from iTunes to Android device directly. Music play an important in all of our life. You may being trouble in transferring media files between iTunes and Android device when you get a new Android for example Google Pixel 2/2 XL. Luckily, in this article we will give you the best way to move iTunes music to Google Pixel 2/2 XL or other Android models with a reliable Android toolkit – Android Transfer. It is described as a bridge between Android and iTunes.
Import Music from iTunes to Google Pixel 2/2 XL
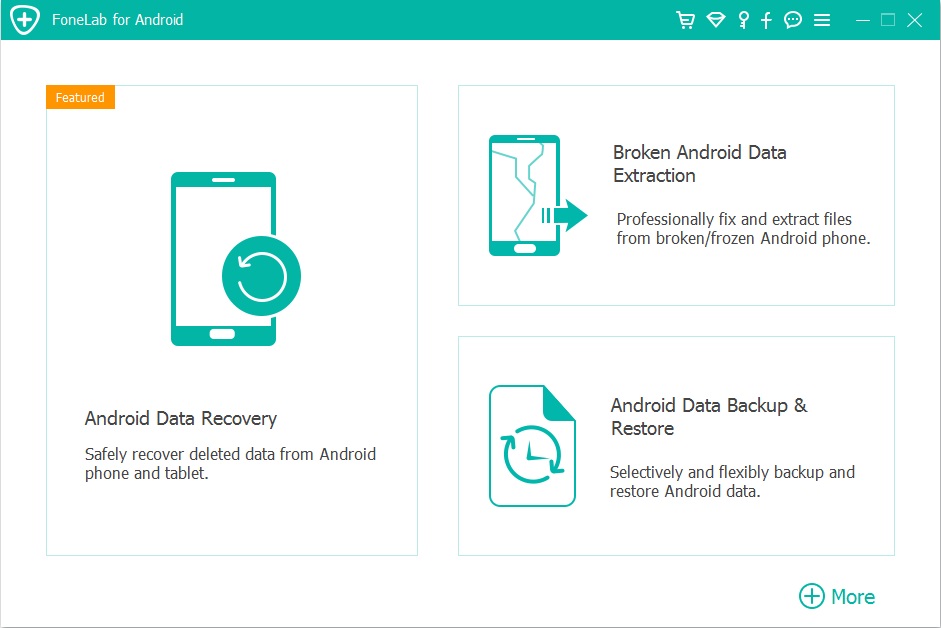
Google Pixel Manager – Android Transfer is a well-known software that lets you manage iOS and Android devices safely. It can backup Google Pixel data to computer, delete files and also export the files on Google Pixel with ease. This Google Pixel Manager supports data types like music, playlist, videos, photos, contacts, SMS among others. With the help of this smart program, you can easily transfer music from iTunes to Google Pixel 2/2 XL. What’s more, this all-in-one program features with one-click-root, app manager, phone to phone transfer, Gif maker and others. Fully compatible with 3000+ Android devices (Android 2.2 – Android 8.0) from Google Pixel, Samsung, LG, HTC, Huawei, Motorola, Sony, Lenovo, OPPO, ZTE, etc,.


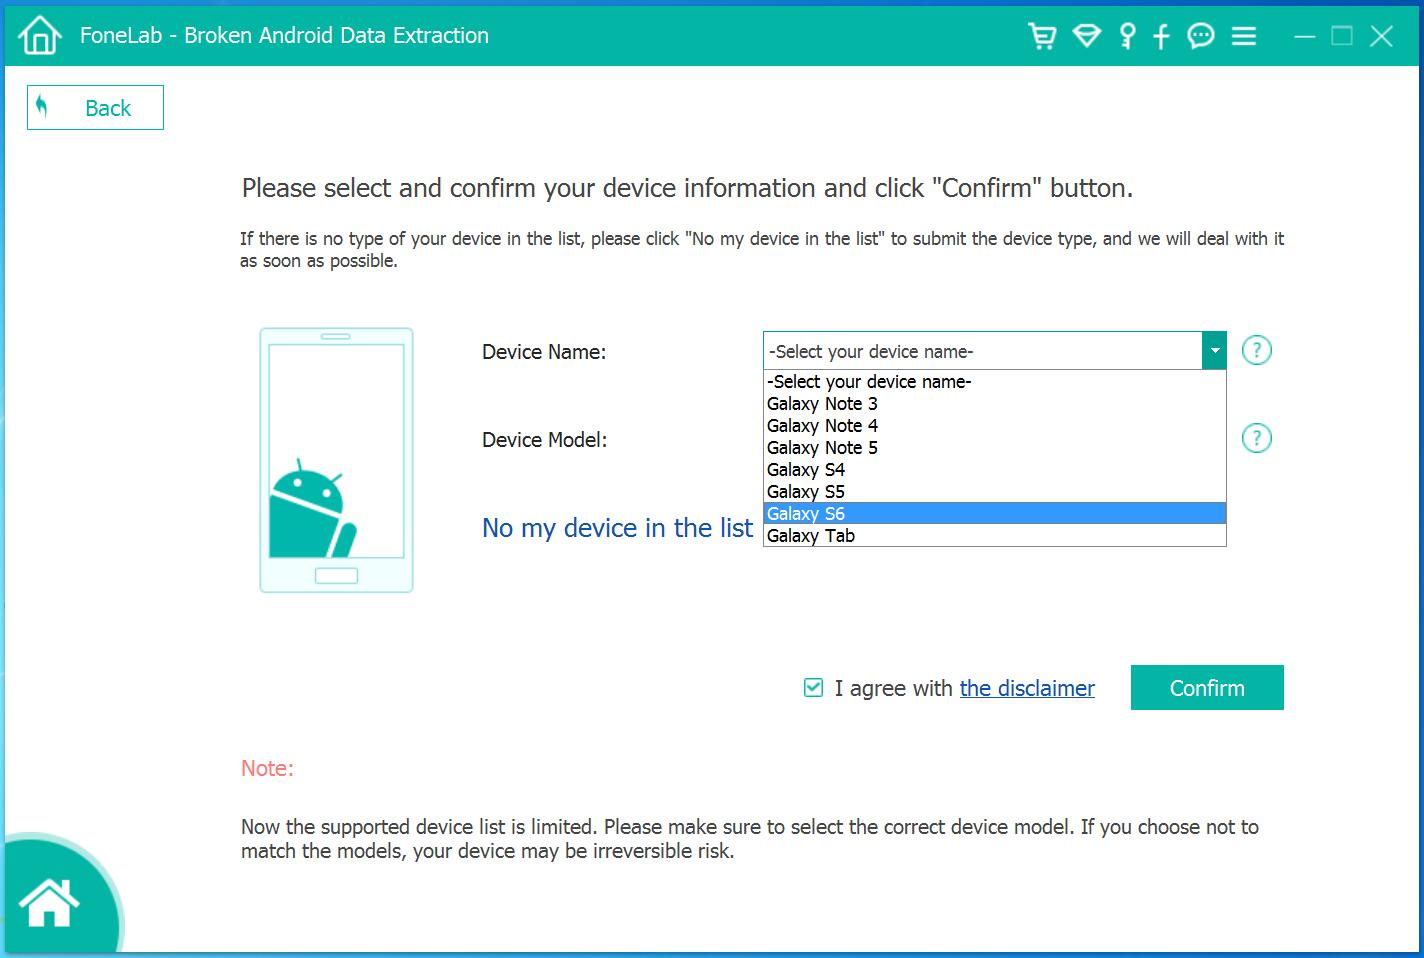
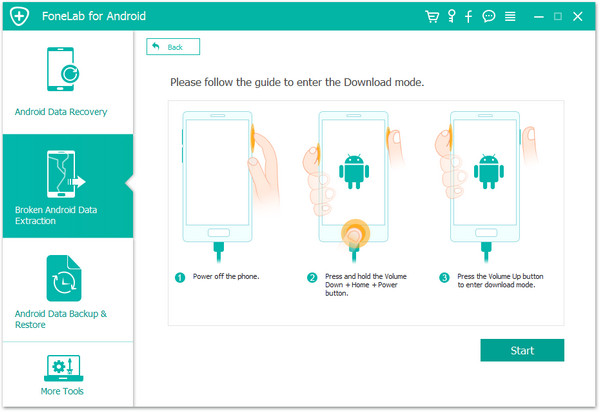
Part 1: How to Transfer iTunes Music to Google Pixel 2/2 XL
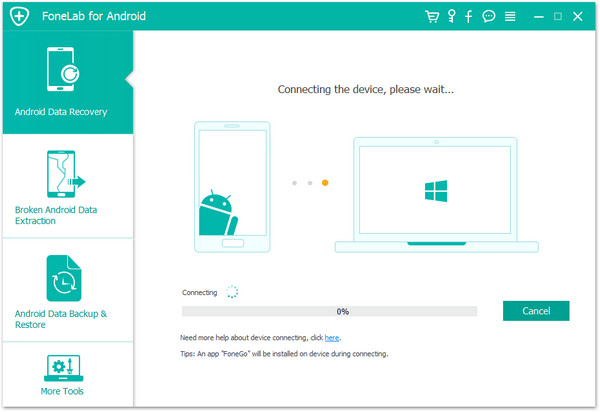
Launch Google Pixel Manager – Android Transfer and connect your Google Pixel 2/2 XL phone to the computer. Your device will be detected and displayed in the primary window very soon.
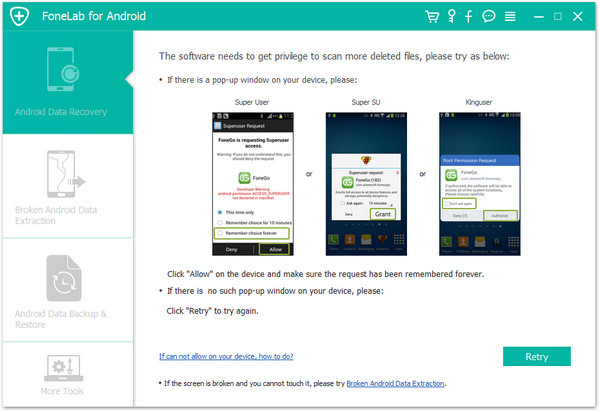
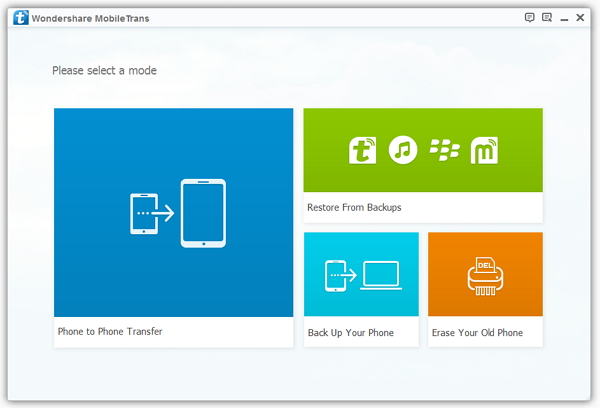
Step 1. Select Transfer Mode
Simply click “Transfer iTunes Media to Device” on the main interface. Or find the “Transfer iTunes to Device” option under “Toolbox” > “Transfer Tools” section.
![]()
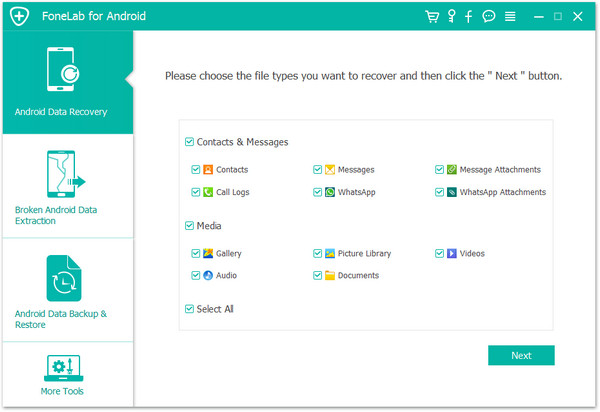
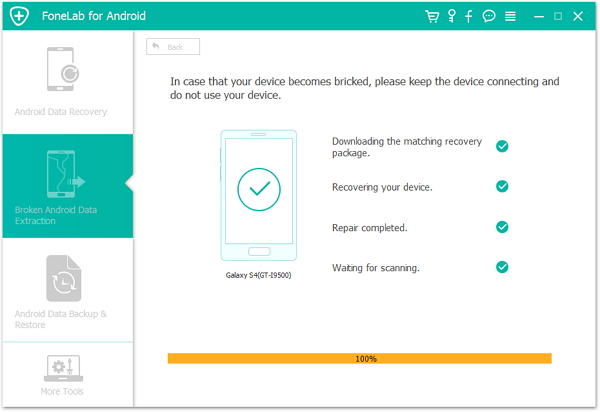
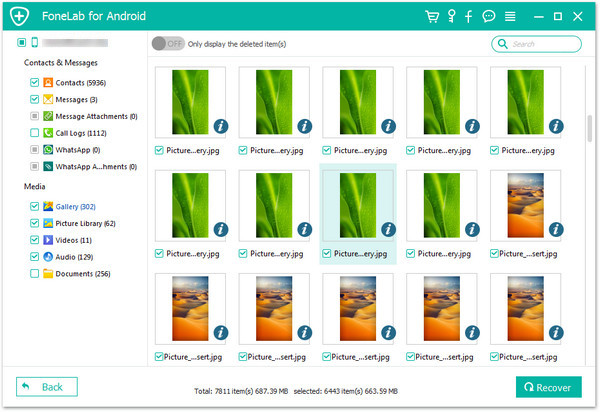
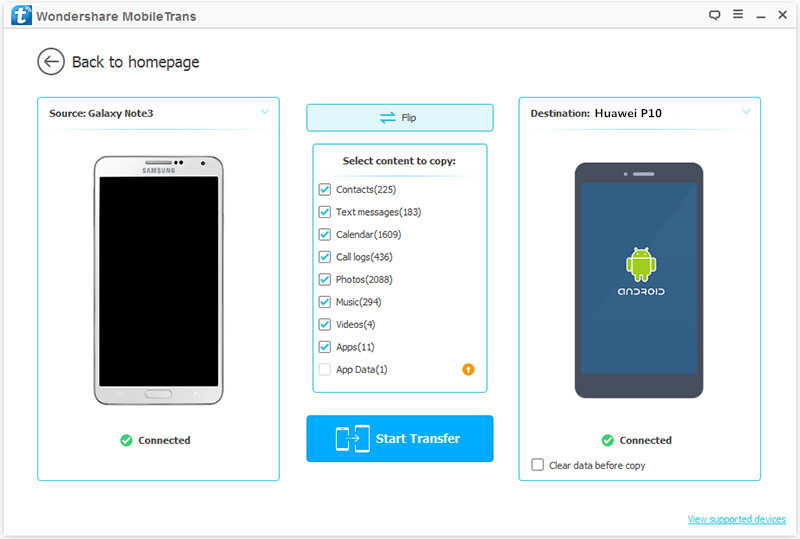
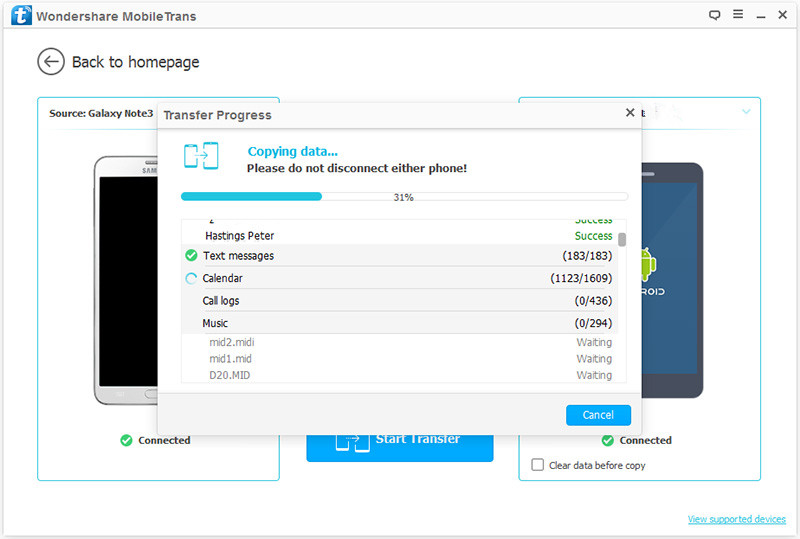
Step 2.Transfer iTunes Music to Google Pixel 2/2 XL
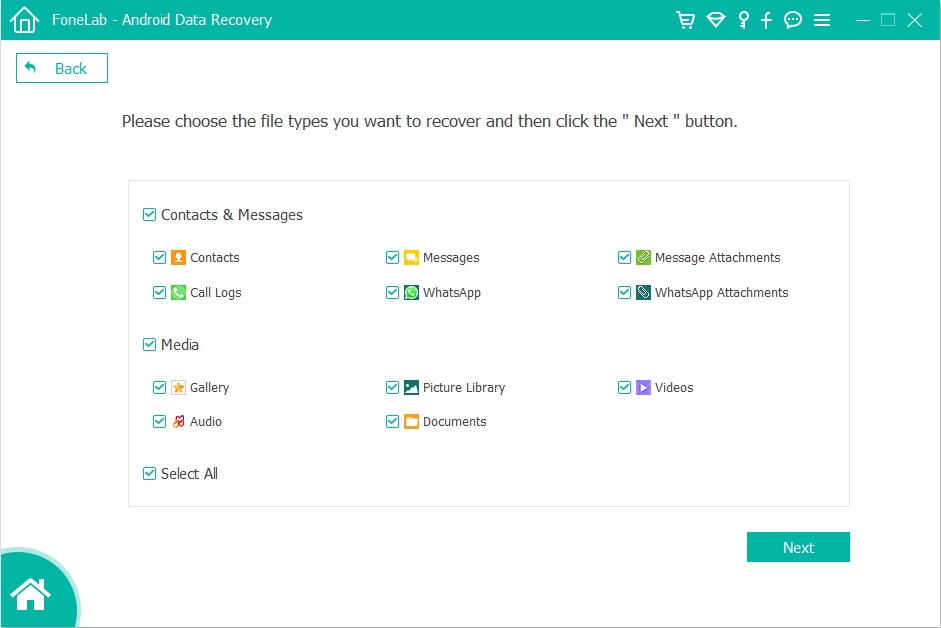
All the iTunes files will be scanned and will be shown under different categories like “Music“, “Movies” and others. By default, all the file types will be selected but to transfer only the music files, you can uncheck the others. Click “Transfer” to start transferring.
![]()
![]()
Part 2: Convert Apple Music to MP3 and Transfer to Google Pixel 2/2 XL
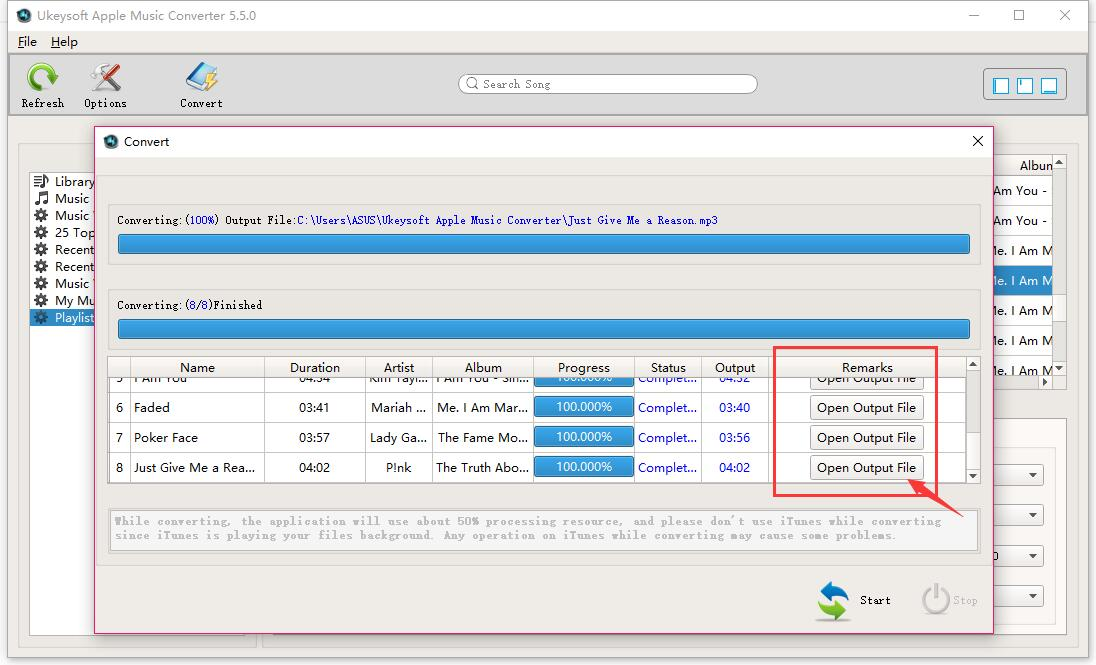
If you want to sync Apple Music as local MP3 files and play it on Google Pixel 2/2 XL without limits, here we recommend this Apple Music Converter for you. It is a famous Apple Music conversion tool for removing DRM protection from Apple Music, convert Apple Music to DRM-free(like MP3, AAC, WAV, or FLAC) files for offline playing without subscription. After the conversion, you could play back the converted music files on any devices freely.
Free Download Apple Music Converter:
Step 1. Run Program and Load iTunes Playlist
Step 2. Select Apple Music to Convert
Step 3. Convert Music to MP3 Files
Step 4. Transfer Converted Music to Google Pixel 2/2 XL
Note: You could sync the converted music from computer to Google Pixel 2/2 XL via Google Pixel Manager – Android Transfer, it is easy, efficient and safe.
Free Download Google Pixel Manager – Android Transfer:
More Guides for Google Pixel Users:
How to Import Music to Google Pixel 2/2XL
How to Transfer Music and Videos to Google Pixel Phone
Music Transfer from Samsung Android to Google Pixel/Pixel 2
How to Transfer Photos to Google Pixel Phone
How to Transfer Samsung Data to Google Pixel/Pixel 2
How to Recover Deleted Data from Google Pixel/Pixel 2
How to Backup and Restore Google Pixel/Pixel 2