By Selena KomezUpdated on January 03, 2020
[Summary]: Want to backup Samsung data to computer before factory reset? Here step by Step guides on how to backup and restore Samsung Galaxy S9/S9+/S10/S10+/S10e data.
“I would like to replace my Samsung S7 to Samsung Galaxy S9 but I’m afraid that my precious data lost if my phone get lost or stolen.Is there any good way to back up my Galaxy S9 data to computer? What can I do ?”
“I want to reset Samsung Galaxy S10+ to factory settings, how to backup contacts, SMS, photos and videos from Galaxy S10 to computer, then I will restore the backups data to the device after resetting complete.”
In order to avoid unexpected situations such as possible file deleted or loss, data corruption by accidentally when your Samsung get lost or stolen, virus attack, improper operation, you must back up your phone data to computer regularly. Actually, users can easily back up data from their Samsung without spending too much time and effort. Backing up your data should be an important thing, and you should back up your Samsung data to computer in case you need to restore it. Thankfully, there are many ways to back up your data on your phone. Here we will recommend a safe and effective Samsung Galaxy S10/S9 Backup and restore software to help you back up and restore Samsung Galaxy S10/S9/S8/S7/S6 data.
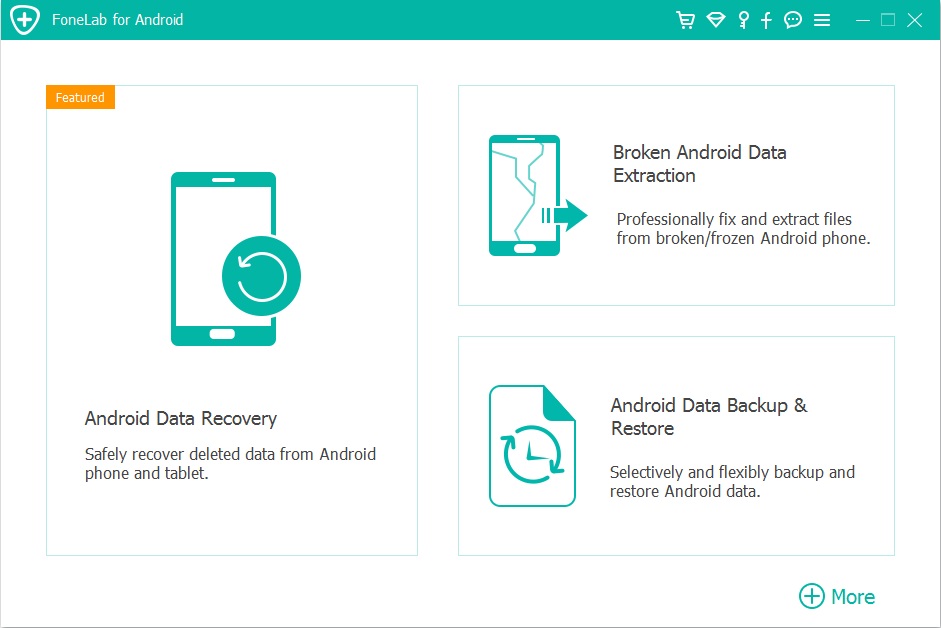
U.Fone Android Data Backup & Restore is just the right tool that can help you backup and restore Galaxy S9/S10 data including messages, photos, videos, audios, contacts, documents, etc,.It is a reliable solution with a list of features that you can use it to manage data for your Android device, recover deleted data from Android device, restore data from broken Android device. In addition,it can fully apply to various Android brands: Samsung Galaxy S, Samsung Galaxy Note, Google Pixel, Nokia Android, OnePlus, HTC, Lenovo, Sony, Motorola, Huawei, LG, ZTE, OPPO and others.
More about U.Fone Android Toolkit:
Step 1.Install the Program on Your Computer
Download Android Data Backup & Restore tool on your computer and run it, then click on “Android Data Backup & Restore” option to go on.

Step 2.Link the Device to Computer
Connect your Galaxy S9 to the computer with a USB cable. If you are prompted to enable the USB debugging mode on the device,you can follow the instruction to try it.
Step 3.Allow the USB debugging on Samsung Galaxy S9
In this section you must allow the USB debugging on your phone for the process,then you should tap “OK“when it shows up on the device screen.

Step 4.Select Data to Backup from Device to Computer
Now you can select data you would like to either backup or restore when it is successfully connected . To do a selective backup click “Device Data Backup” option to go on.

Step 5.Choose File Types to Backup
In this step you can choose the file types to backup,such as Contacts, Messages,Photos,Videos, etc,. and click “Start“.

Step 6.Select the Folder for the Output Files
Select a location to store your backed up data and click “OK” to continue.

Step 7.Begin to Backup Galaxy S9 Data to Computer
Last but not least,just simply click “Start” button to backup the selected data from Galaxy S9 to computer.

The U. Fone Android Toolkit – Android Data Backup & Restore can also restore the backup to your Galaxy S9 phone or other devices when you need. It’s very simple and the steps are almost as same as the backup process except the step 4.Please locate to the step 4 and in this part you are required to click “Device Data Restore” selection.

Related Articles:
How to Recover Deleted Data from Samsung Galaxy S9
How to Recover Deleted Photos from Samsung Galaxy S9
How to Transfer iTunes Music to Samsung Galaxy S9
How to Transfer iTunes Videos to Samsung Galaxy S9
How to Transfer iPhone Data to Samsung Galaxy S9
How to Manage Samsung Galaxy S9 on PC/Mac
How to Stream Apple Music on Samsung Galaxy S9
Prompt: you need to log in before you can comment.
No account yet. Please click here to register.
No comment yet. Say something...