“I need some help. My iPhone runs slowly after I updated iOS 11 on it. It always bricked when I was using it. Moreover, it prompted me several times in one day with the message “Please free up space your device for more storage. Anybody get the similar situation like me? Please send me your suggestions for fixing it. Thanks.”
iOS 11 is the newest iOS version now are available on iPhone/iPad. Most of us just updated to the new iOS system for the new features. However, a part of Apple fans reflect that the device will get bricked after updating to iOS 11. Some of the iOS 11 apps don’t fare too badly, in absolute terms. But there are some fairly significant regressions, particularly in Mail, Notes, and Maps; and boot time goes way up (though totally rebooting your phone is not something you’re actually going to do all that often). Then some of the iOS 11 users are confusing that if there are good ways to optimize iPhone for best performance after iOS 11 update. Now we tell you that you are in the right place, this tutorial will share a wonderful tool help for free up space on your iPhone after iOS 11 update.
Part 1: Tips to Optimize iPhone for Best Performance after iOS 11 Update
A:No Background App Refresh
In addition to updating when you are otherwise occupied, apps also refresh their content in the background. For example, your Facebook or Twitter feed will update without you manually updating when you open the app. Helpful, to be sure, but it occupies CPU cycles. To turn it off, go to Settings > General > Background App Refresh and tap the toggle switch off. Or, you can take the a la carte approach and leave Background App Refresh enabled at the top and turn it off for individual apps from the list below.

B:Dial Back Location Services
Location services chew up battery life more than performance, but if your iOS device is draining its battery at a faster clip with iOS 11, it’s time to cut down on the number of apps using your device’s GPS to request your location. iOS 11 gives you more control over how and when apps access your location. No longer can a developer offer only Always or Never for the tracking options for location services. Now, you’ll be able to choose While Using the App whether the developer likes it or not. Head to Settings > Privacy > Location Services to adjust the settings for all of your apps that use location services.

C:Restart iOS 11 Device
A simple restart will help remove useless caches and improve processing performance more or less. If normal way won’t work, try force restart by long pressing the Sleep/Wake button and Home button on iPhone 6/6S/6S Plus/5S. Or Volume Down + Home button on iPhone 7/7 Plus.
Part 2: Optimize iPhone for Best Performance after iOS 11 Update via iPhone Data Eraser
Instead of trying each method separately, a better choice provided is using a free iPhone optimizing app calls iPhone Data Eraser. It allows user to thoroughly clean up junk files, large files, apps and other invisible documents and data that may lead to iOS 11 running slow on iPhone/iPad and greatly boost iPhone speed, perfectly optimize iPhone for best performance after iOS 11 update. It’s a famous tool used for one click to free up space on iPhone after iOS 11 update for getting more storage. With using this program, you can securely free up space and speed up your iOS device after updating to iOS 11 or more other situations.


Step 1.Run Program on Computer and Connect iPhone
Run iPhone Data Eraser and connect your iPhone to the computer via an USB cable.

Step 2.Scan iPhone for a Full Space-Saving Analysis
This program integrates more than 25 analyzing technologies,and it support to scan and analyze data of device accurately.Click “Quick Scan” for a full space-saving analysis on how much space can be saved by cleaning up junk files,clearing temporary files,compressing photos,deleting large files and removing apps.

Then the program now will begin to scan data from your iPhone.

Step 3.Free Up Space to Optimize iPhone for Best Performance after iOS 11 Update
When the scanning is end,it will show that the storage of device could be freed up.Now you can click “Clean” button to free up space for iPhone.

After cleaning,you will see how much space has been released and how much more can be released by the other items as the below interface shows.Choose any part to continue.

Note:
A:Please keep your device connected with your computer and do not use the device until the whole process is end to ensure the program operates properly.
B:There are two releasing modes you can choose to free up space on iPhone.First, all the space-releasing procedures can be done after you click the Quick Scan button, which is a full space-saving analysis. They can be done individually in each tab at the bottom of the interface according to their different functions. That means you can start with junk cleaning, photo compression or managing apps as you prefer.
Read more:
How to Free Up Space on iPhone after iOS 11 Update
How to Free Up Space on iPhone X/8/7/6S/6
How to Free Up Space on iPhone/iPad
How to Optimize Slow iPhone For Best Performance
How to Clean iPhone and iPad Junk Files to Free Up Space
How to Fix Bricked iPhone iPad after iOS 11 Update
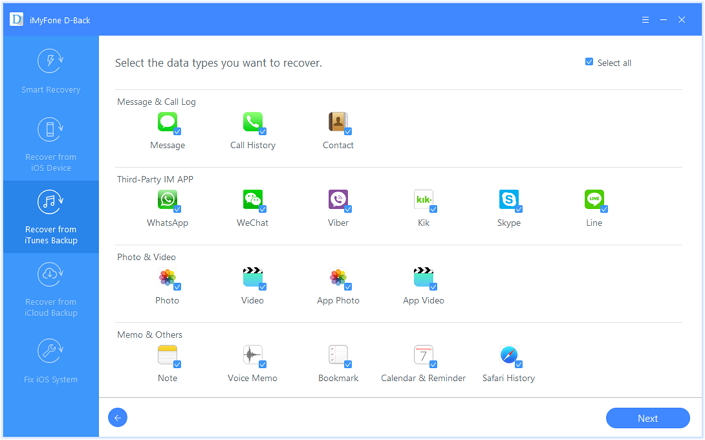
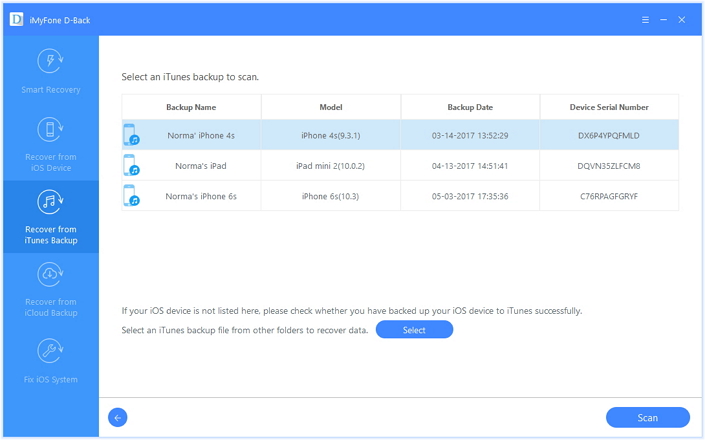
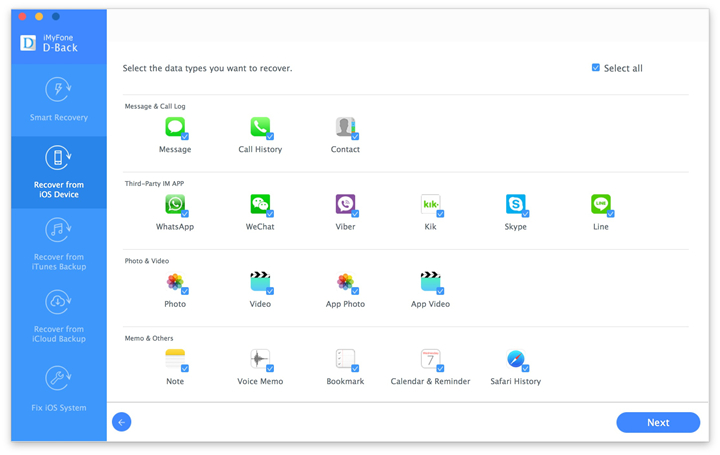
How to Recover iPhone Data after iOS 11 Update
iPhone Manager – How to Transfer and Manager Files on iPhone X/8/7/6S/6/SE