Why we need erase iPhone data permanently?
You are not willing to leak your personal information readily to anyone who you know or not. What you arduously looking for is an easy and effective way to permanently erase all data from your old iPhone, iPad and iPod.Next,we show you some situations when you need to erase iPhone data:
When you prepare to give away the old iPhone or send or sell it to others
When your iPhone is stolen or lost, you want to keep data in iPhone safe
When you just get a second-hand iPhone
Erase iPhone and turn it back to factory default settings is necessary and important for us.
In summary, we can see that we have to learn to erase iPhone in three situations:
Part 1: How to Restore iPhone Videos from iTunes Backup
Part 1: Erase iPhone in your Hand
When iPhone is with you, you can take these two methods to erase iPhone data and settings.
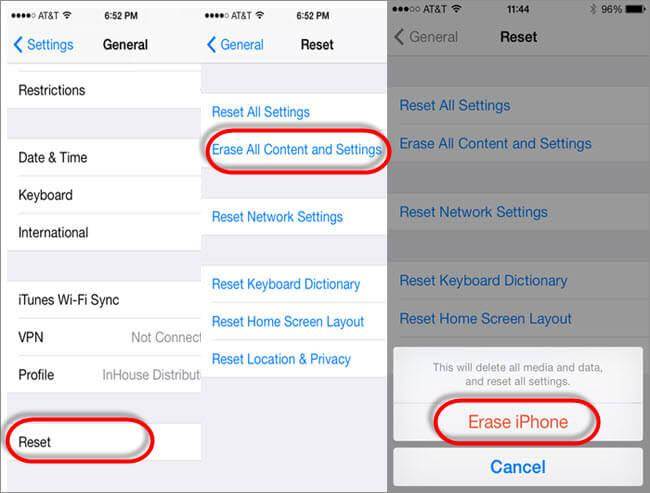
-Method 1: Erase iPhone All Contents with iPhone Settings Menu
Step 1: Backup iPhone to iCloud or iTunes first.
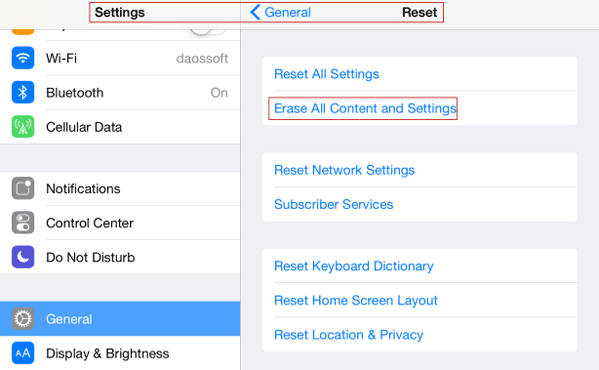
Step 2: Navigate to Settings – General – Reset – Erase All Contents and Settings.
Step 3: Type passcode in pop-up dialog.
Step 4: Continue and follow prompt message to delete all data and settings on iPhone.
-Method 2: Erase iPhone Data and Settings in Windows Computer
This is a common method. With iTunes in computer, you can backup iPhone and then restore it to factory default settings. All data and settings you have saved on iPhone will be erased.
Step 1: Install iTunes latest version in computer.
Step 2: Connect iPhone to computer with USB cable and run iTunes.
Step 3: Click iPhone in iTunes top-right side and then choose Summary menu.
Step 4: Under “Automatically Back Up“, check “Encrypt iPhone backup” or “Encrypt local backup”.
It will ask you to set a password to lock iTunes backup for iPhone. Help you to keep iPhone backup safe. After that, when you want to restore iPhone to this backup point, just unlock this backup and restore iPhone from backup in iTunes.
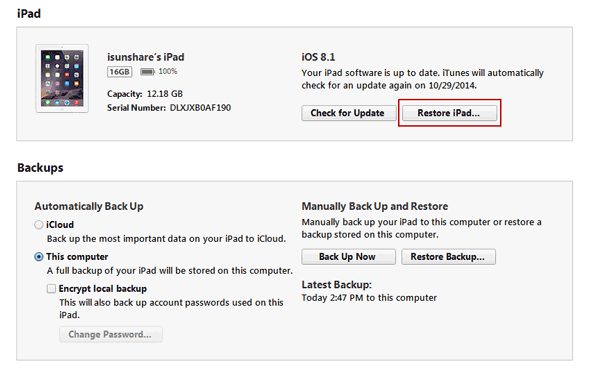
If there is passcode to iPhone, you will need to type passcode first and then could back up iPhone in iTunes. But if the passcode is forgotten, only can click “Restore iPhone”.
Step 5: After iPhone backup, click “Restore iPhone” to erase iPhone contents and settings in the iPhone information part at the top of iPhone screen.
Warning by CNET: iPhone “Restore” does not delete personal data!
If you restore factory setting for your iPhone,it does’t mean “Erase” all iPhone contents permanently,because some recovery software can restore them easily,you need to use a third-part eraser tool to erase iPhone data and no data recovery can get them back.
Part 2: Erase iPhone Data Permanently Without Restoring
iPhone iPad Data Eraser is the most professional tools that allows you to 1 Click ultimate privacy protection in order to prevent identity theft when disposing of your old iOS devices. With the help of this porgram, you can complete erase includes contacts, messages, photos, apps, account info, videos, passwords and other personal data stored on your iDevices and ensure that 100% nothing recoverable even if use the third party data recovery tool.
* Erase all data from iPhone, including text messages, contacts, videos, photos, account info, password, etc;
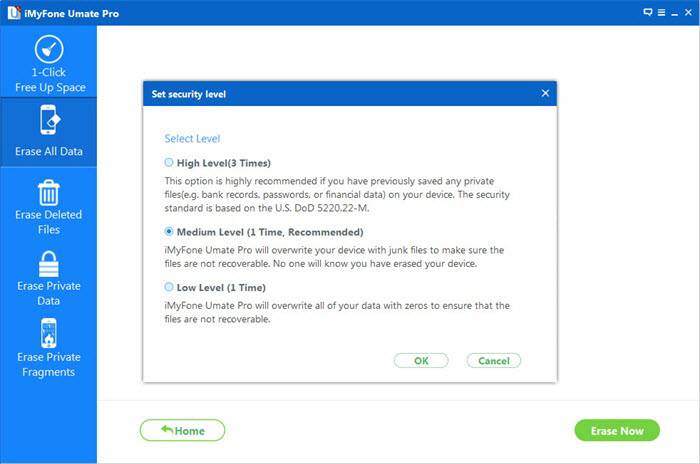
* 3 levels of data erasing for your choice and your can choose to overwrite the existing data with random files.
* Works with all iPhone, iPad and iPod series, including Jailbroken iPhone and carrier-locked iPhone.
* Protect your personal information by removing it permanently and preventing them from being recoverable.
Now you can check the following 3 steps to learn how to use this ios data eraser software to delete private data from your iPhone completely and permanently.
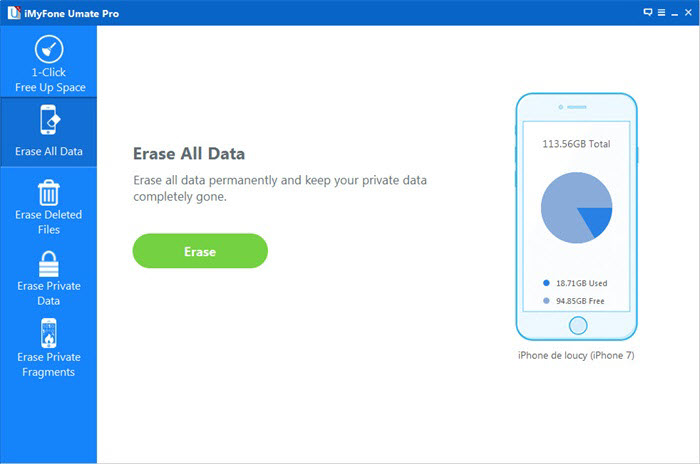
How to Erase All Data on iPhone Permanently Without Restoring?
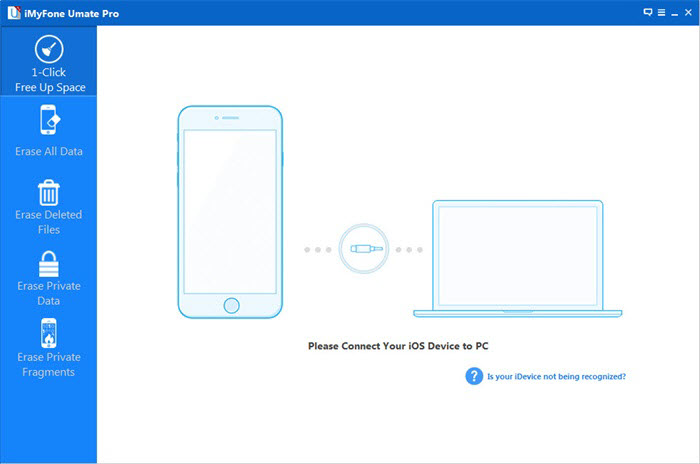
Step 1: Download and install the magical software on your computer
First of all,you need to download the iOS Data Eraser(Windows Version) or iOS Data Eraser for Mac(Mac Version):


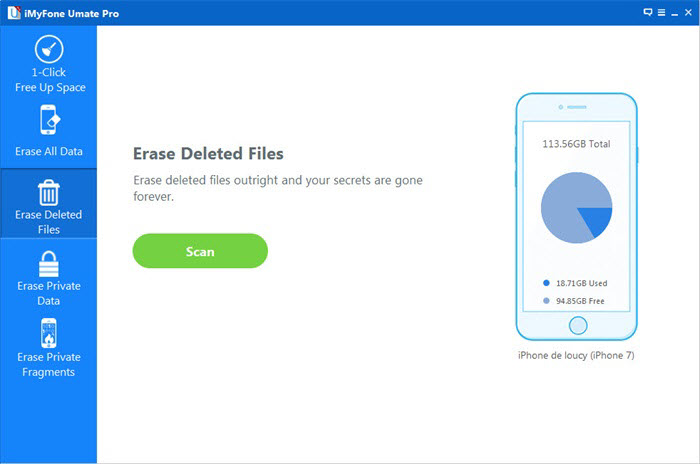
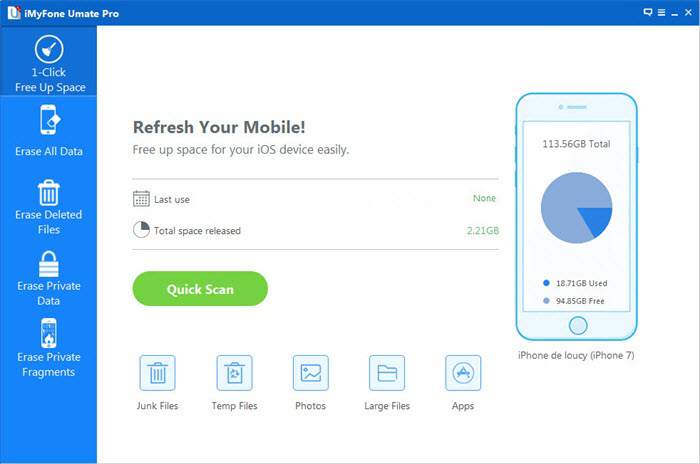
Both iPhone iPad Data Eraser for Windows and Mac users can find suitable version for them. After choosing the correct version to download and then follow the instructions from the software to install this software on your computer. The interface should be shown to you after launching. You can check the brief but powerful interface of this software. You can see it be difficult to handle this simple operation.

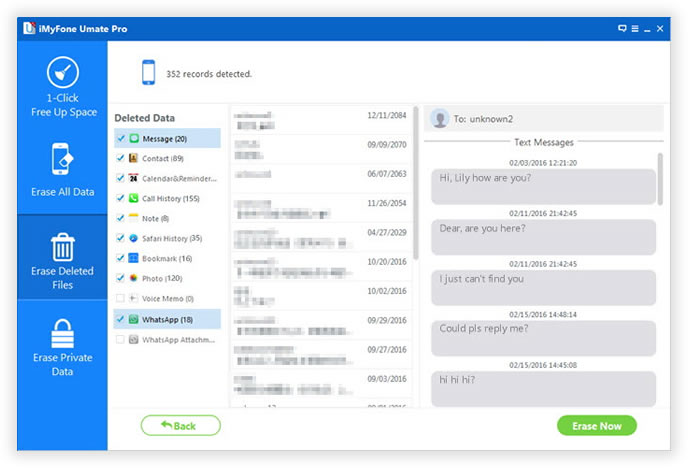
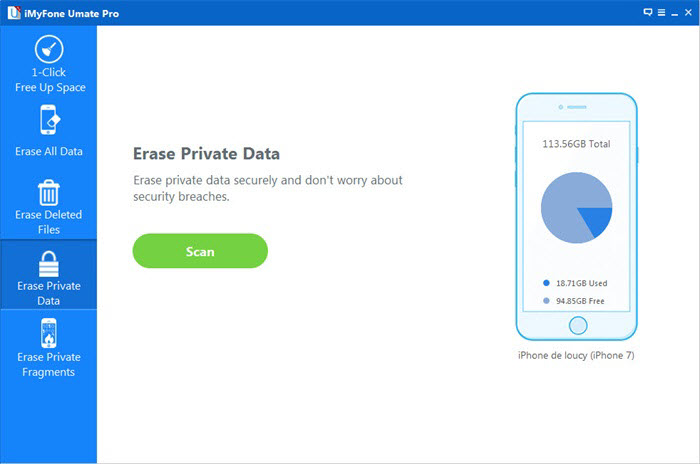
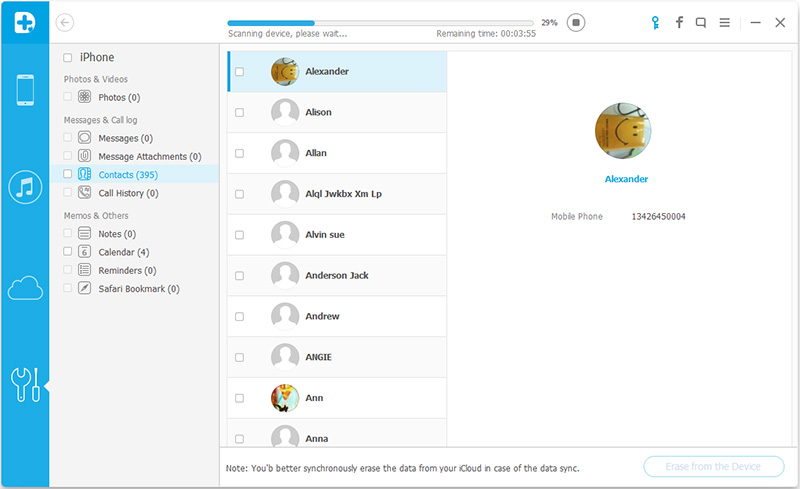
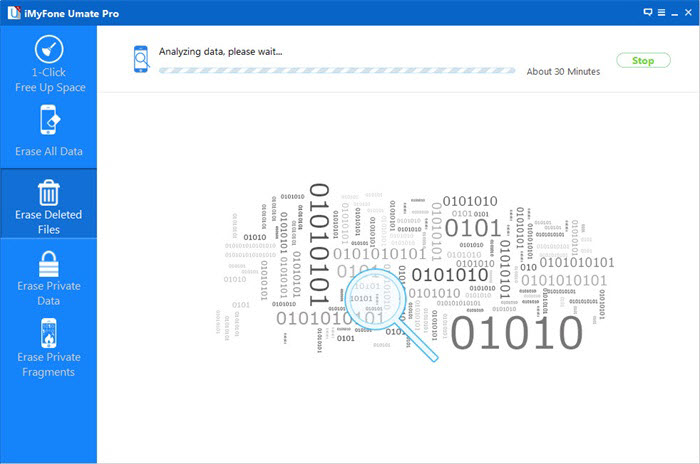
Step 2: Scan and preview the data from iPhone
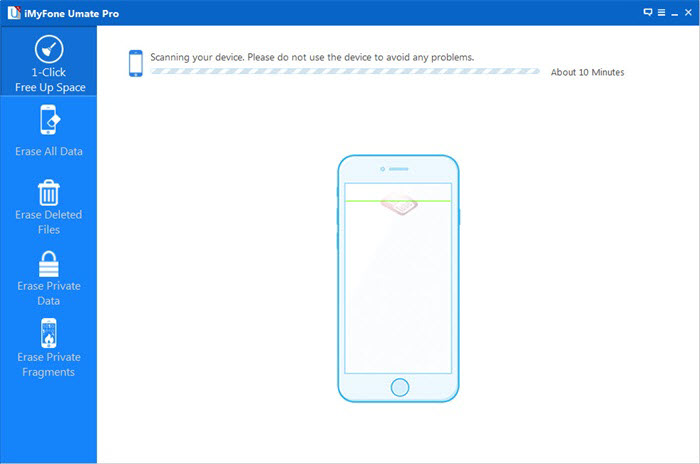
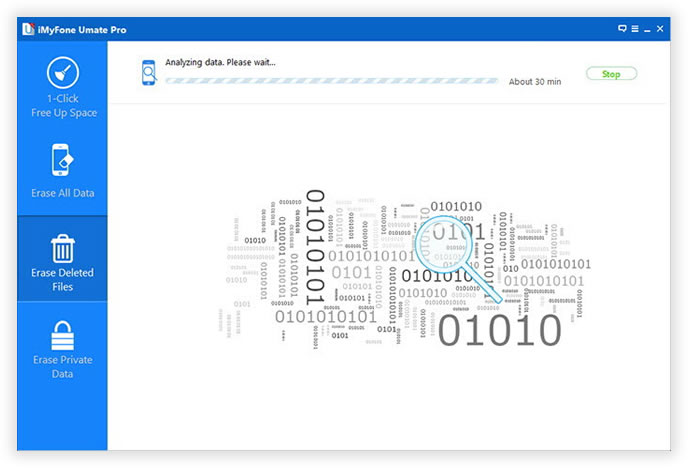
You need to choose Erase Deleted Files on the left side, and then you can click “Start” button on the right side. The software will take some time to scan your deleted data, that’s why you need to delete the text messages manually in the first step.
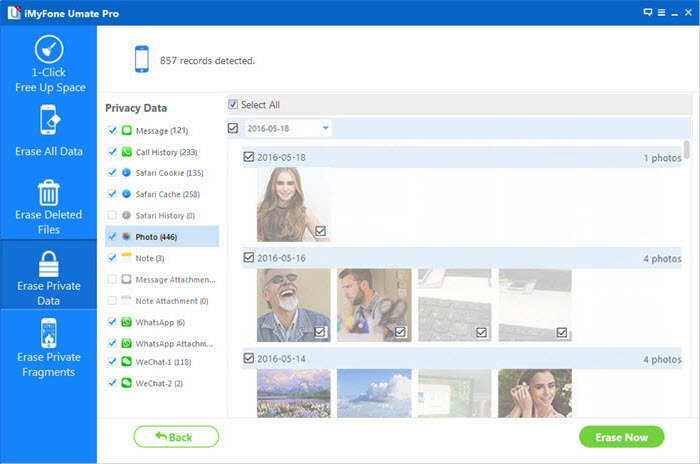
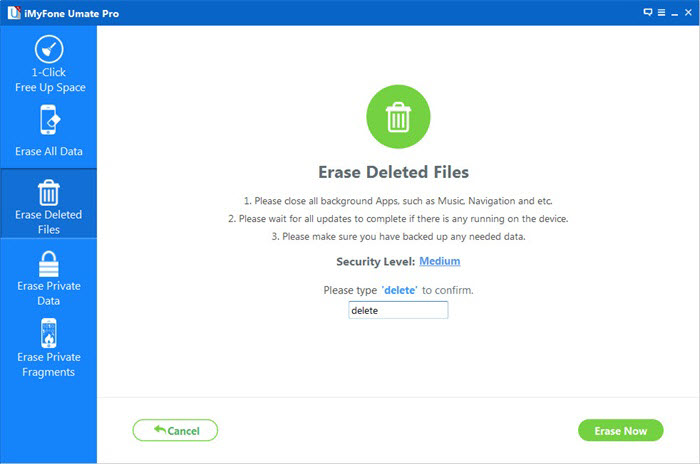
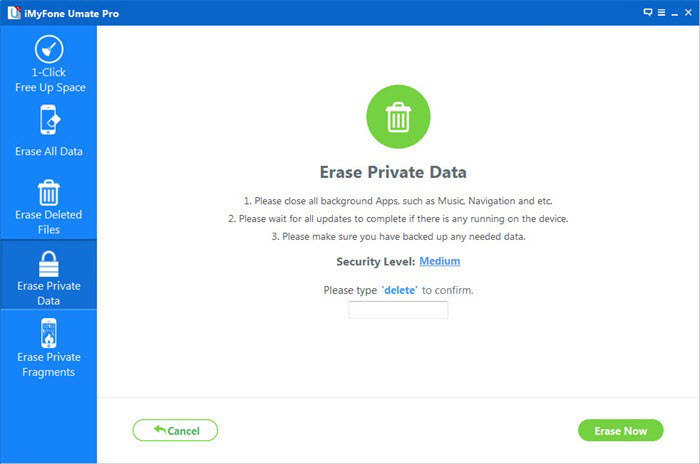
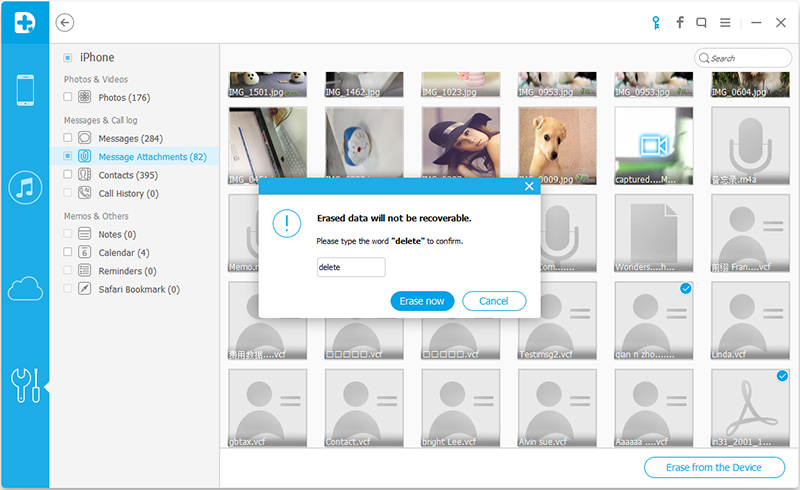
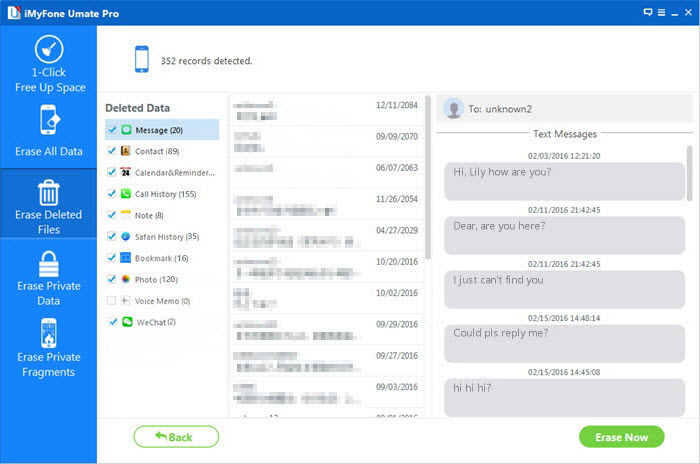
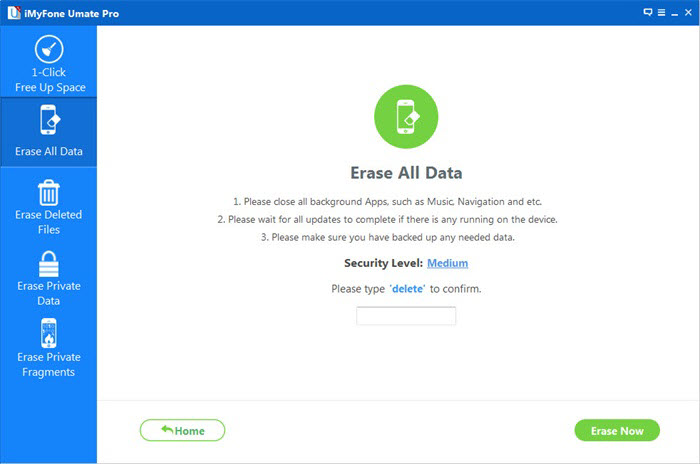
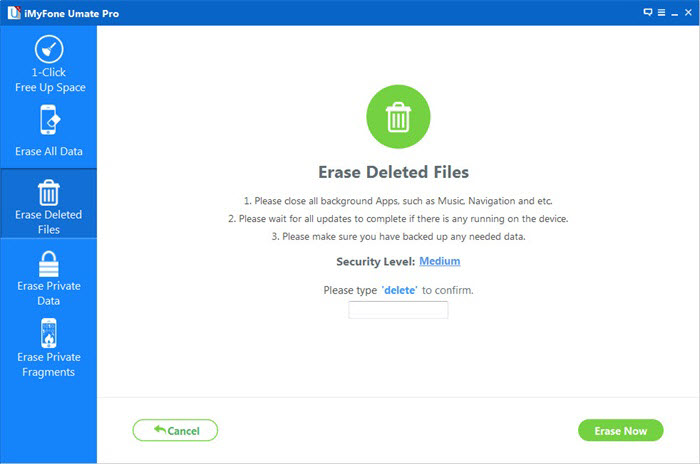
Step 3: Permanently delete all contents and setting on your iPhone
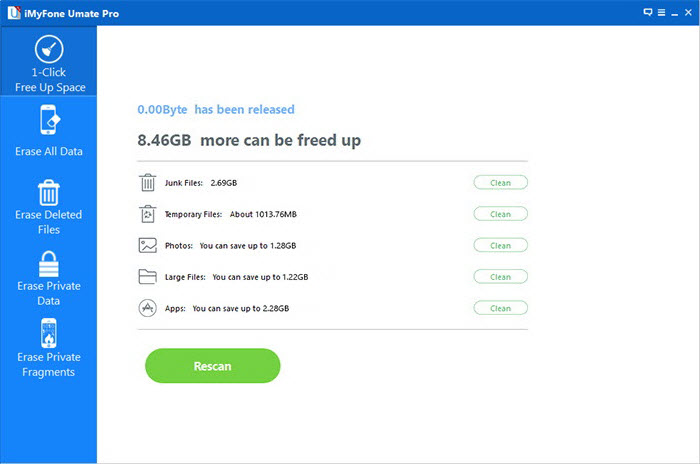
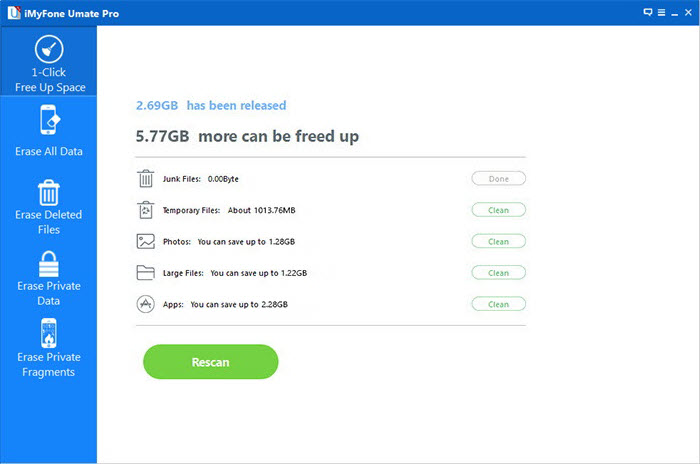
When the scan finished, you can preview the file of scan result at the right side of the interface. After checking everything is ok for you, you just need to click one more button to get this job done; you can find the Erase Now button at the bottom right side.

Free download the iOS Data Eraser to wipe all iPhone data permanently:
Part 3: How to Wipe iPhone Remotely
If your iPhone is stolen or lost, now it is not with you, wipe all of iPhone data and settings remotely is so important to protect your iPhone data from accessing or using by other people.
But if you really want to do this, you have to make sure Find My iPhone service enabled in your stolen or lost iPhone. Otherwise, you can only change Apple ID password and stop others deleting data in iCloud.
Now followings are steps to remotely erase iPhone contents with Find My iPhone service.
Step 1: Go to Settings – iCloud, and confirm that you have enabled Find My iPhone service on lost iPhone.
Step 2: Login into iCloud with your Apple ID.
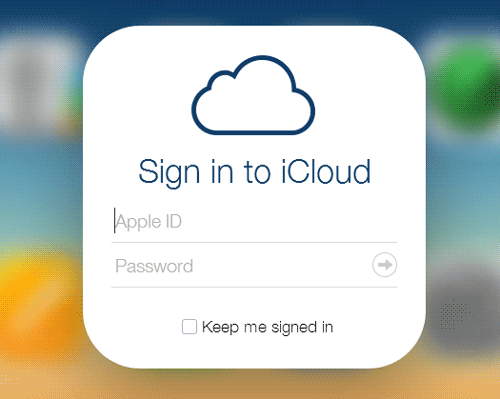
You can do this on any web browser (https://www.icloud.com/#find). Open Find My iPhone page, and you will be prompted to sign in with Apple ID. After Find My iPhone program runs, all the possible devices appear.

Step 3: Click All Devices at the top and select your iPhone from the list.
There will appear a window with your iPhone name and three options.
Step 4: Select “Erase iPhone” option.
You will be asked to type Apple ID password to confirm. Enter it and click OK. If the device is connected to internet, remote iPhone will be erased immediately. And a confirmation email is sent to your Apple ID email address. If not, the remote erase will begin the next time when there is an internet connection.
From the introduction above about ways for erasing iPhone data or settings, we would realize the importance of backup, Apple ID and Find My iPhone service. It is them which help to wipe iPhone safe.
Part 4:Erase iPhone Data and Settings with iOS Full Data Eraser
iOS Full Data Eraser is an outstanding data eraser tool for iPhone/iPad.After using this program,all iPhone data and settings will disappear forever and can’t be restored under any ways.So just try this program to permanently delete data and settings from iPhone before selling or giving it up.Supported iOS Devices:iPhone 7,iPhone SE,iPhone 6S Plus,iPhone 6S,iPhone 6 Plus,iPhone 6,iPhone 5S,iPhone 5C,iPhone 5,iPhone 4S,iPhone 4;iPad Pro,iPad Air,iPad mini,iPad 4/3/2;iPod touch 5,iPod touch 4 and so on.
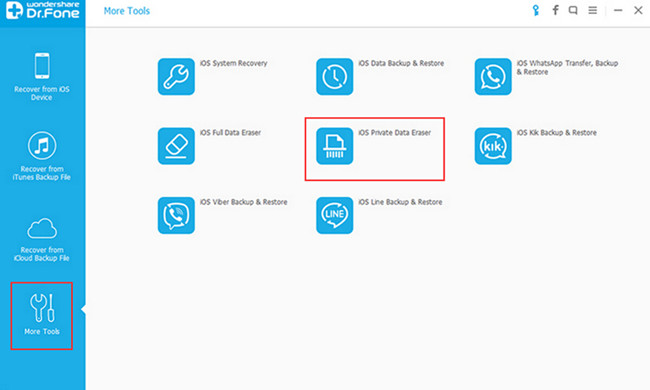
Run iOS Full Data Eraser on your computer,choose “More Tools” on the left side and you’ll see all features inside as follows.Choose “iOS Full Data Eraser” from tools.

Step 1.Connect iPhone to the computer
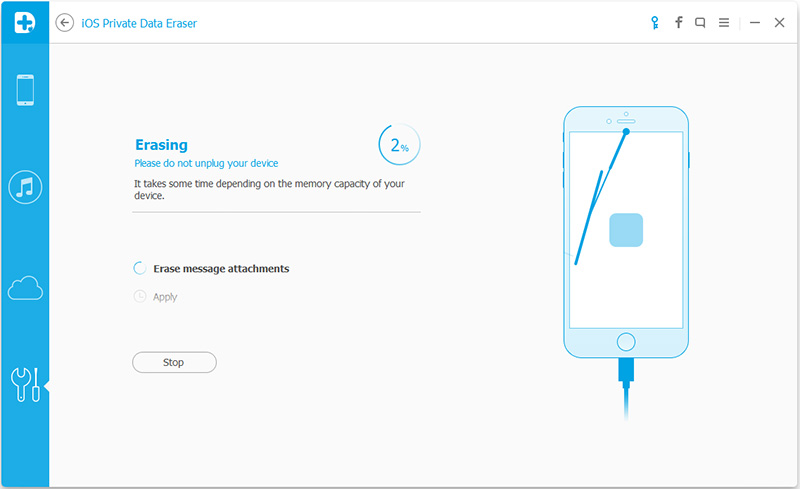
Step 2.Start Erasing iPhone Completely and Permanently
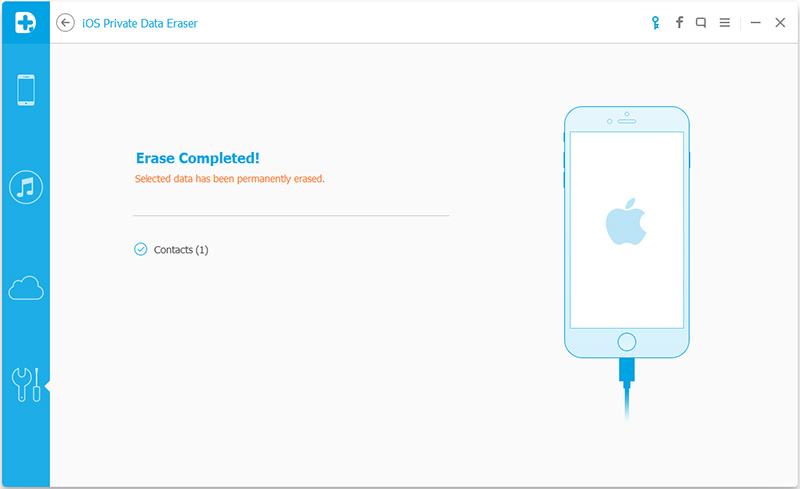
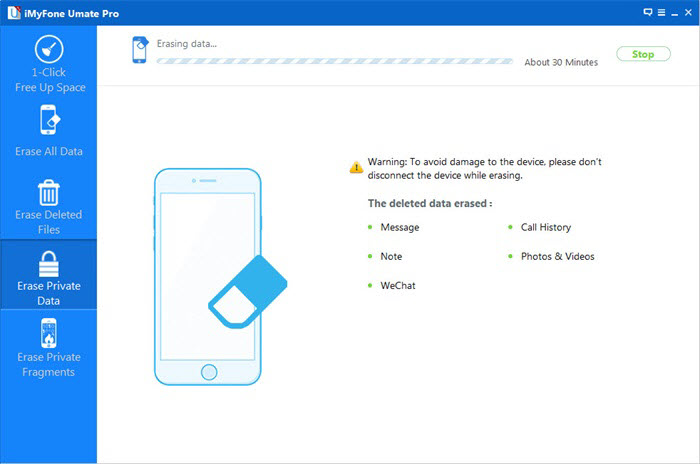
Step 3.Wait Until the Data Erasure is Complete
When the data erasure is complete,you will see a window disappearing as follows.
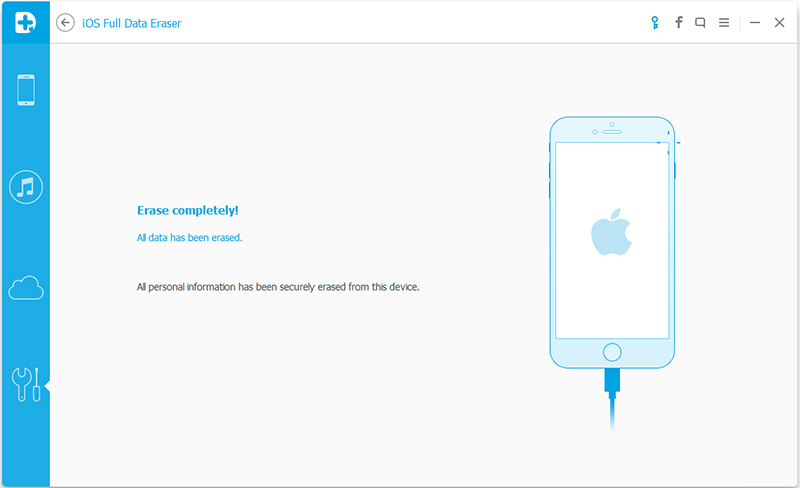
Now,your iPhone is fully erased and turns into a new device with no content,and you can begin to set it according to your need.
Related Articles:
How to Permanently Delete Messages on iPhone 7/SE/6S/6/5S/5C/5/4S
How to Delete Photos from iPhone iPad Permanently