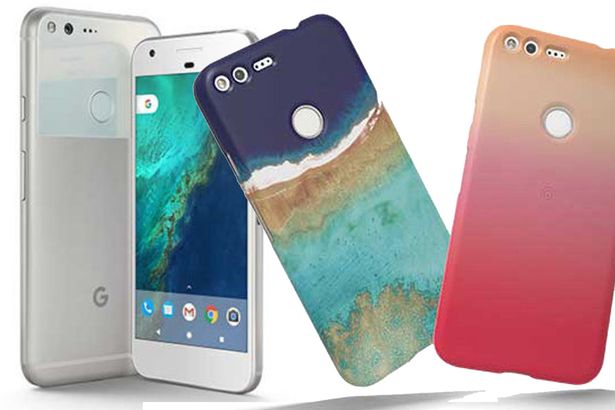
Google’s new flagship Pixel and Pixel XL smartphones are finally for sale, and new owners will need to know how to use it. In this guide we’ll explain how to setup your Pixel and share a few tips and tricks to make the process easier. Like using Google’s new phone transfer tool and more.
The Pixel is Google’s best smartphone to date, and could be the best Android phone available. Period. It’s that good. Running the latest Android 7.1 Nougat, rocking the best camera in any smartphone, stunning battery life and a premium design. It’s fast, fluid and powerful.
Everyone uses their phone different not to mention has different wants, needs or preferences. However, our tips will transfer virtually anything and everything from your old device, including text messages and settings. Then go through some other settings, controls and tips to take advantage of everything this phone offers.
Right out of the box the Pixels run amazing. They are fast, easy to use, and just work. During the first startup you’ll be prompted to do some very important things. Like setup a fingerprint for the scanner and lockscreen measure, sign into your account, or transfer from an old device.
Google’s Pixel will transfer everything from an old Android smartphone, or the iPhone. Both work with the new transfer tool and the USB-to-USB Type-C dongle that’s included in the box. Don’t lose that, it’s what will make switching to your new phone as easy as possible.
Transfer Data From Old Phone
The first thing all owners will want to do is transfer data, apps, settings, contacts, calendar, icon placement, photos or video and even text messages to the Pixel. In the past this has been a difficult and painful process. That isn’t the case anymore, and you’ll be able to switch phones 100% in about 10 minutes.
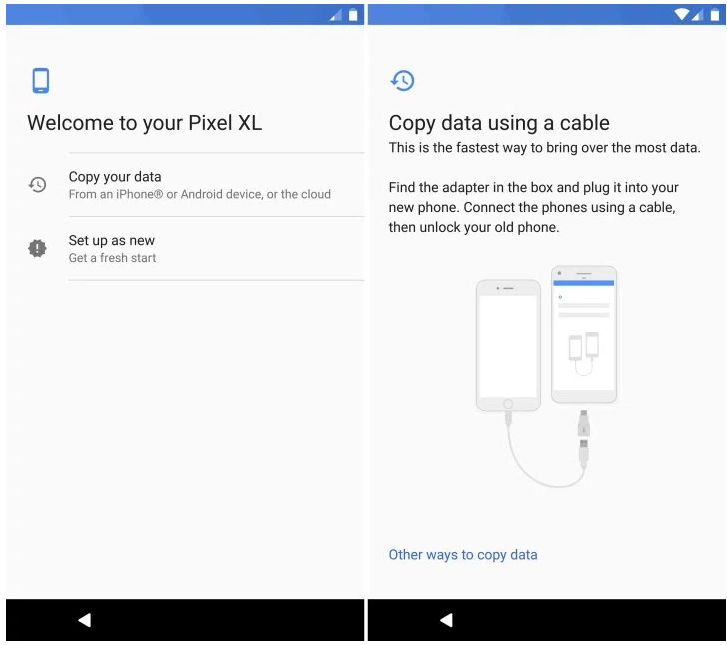
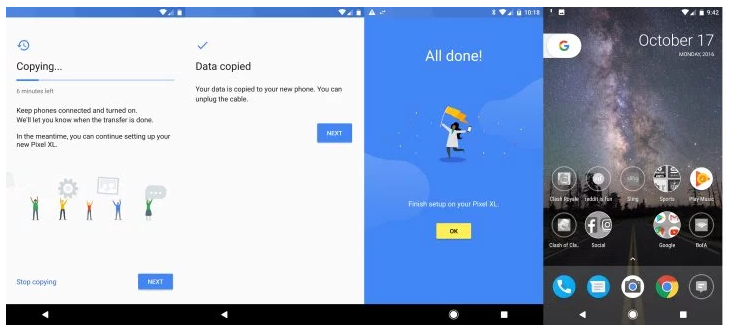
Simply follow the steps on the screen or our images provided. Users will need to plug the USB dongle that’s included in the box into the new Pixel phone. Then the USB cable in the box from the Pixel dongle to your old phone. The adapter goes into the new device.
This will initiate the transfer service instantly, and do literally all the work for you. Almost everything will be transferred. From everything mentioned above to even alarm pre-sets, text messages, app settings or data and more. It’s the complete transfer package similar to Samsung SmartSwitch.
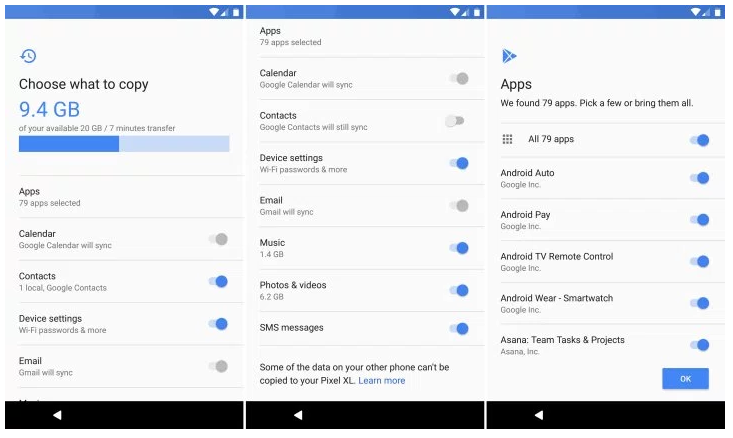
Shown below is the next step, which will tell you what and how much is being transferred, and will let you customize it as well. Clear anything you don’t want to restore to the new device one by one, then hit finish and start the process.
Switching my entire Galaxy S7 Edge and over 9GB of data took under 7 minutes. Extremely fast and easy. However, another 5-15 minutes of app downloads and updates will follow, depending on how many apps you have installed.
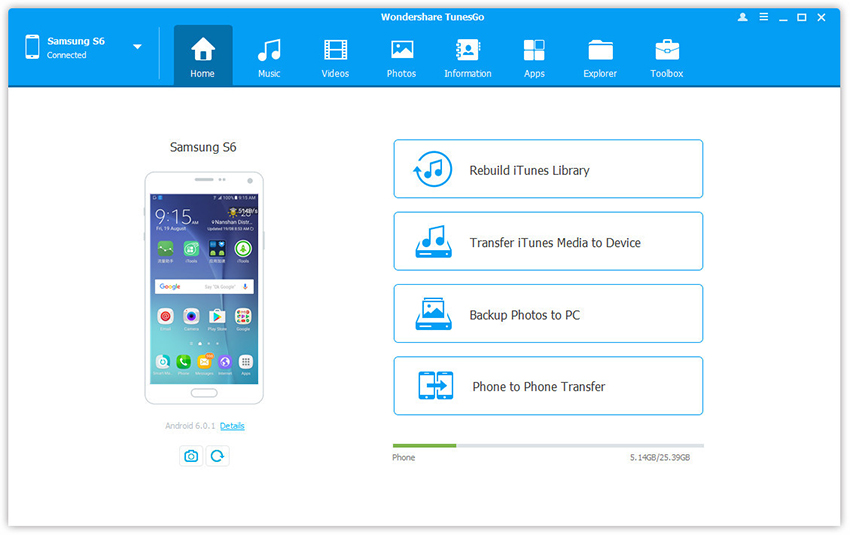
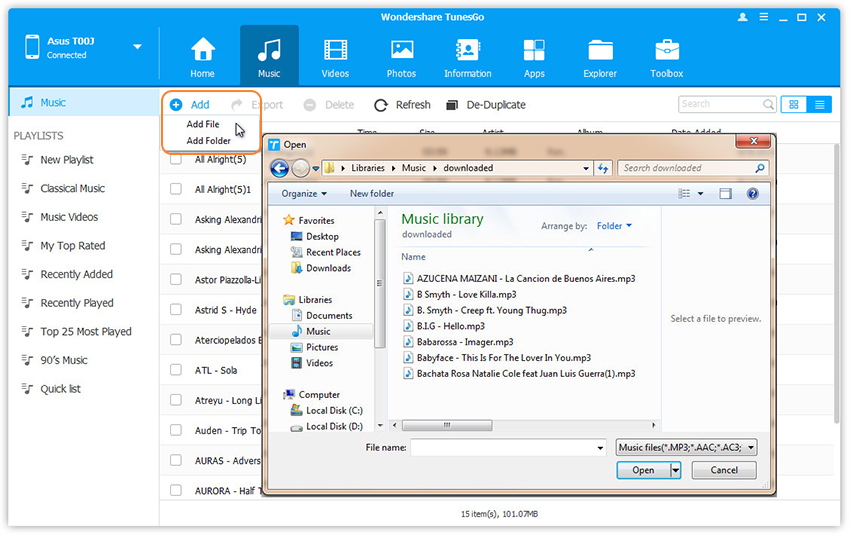
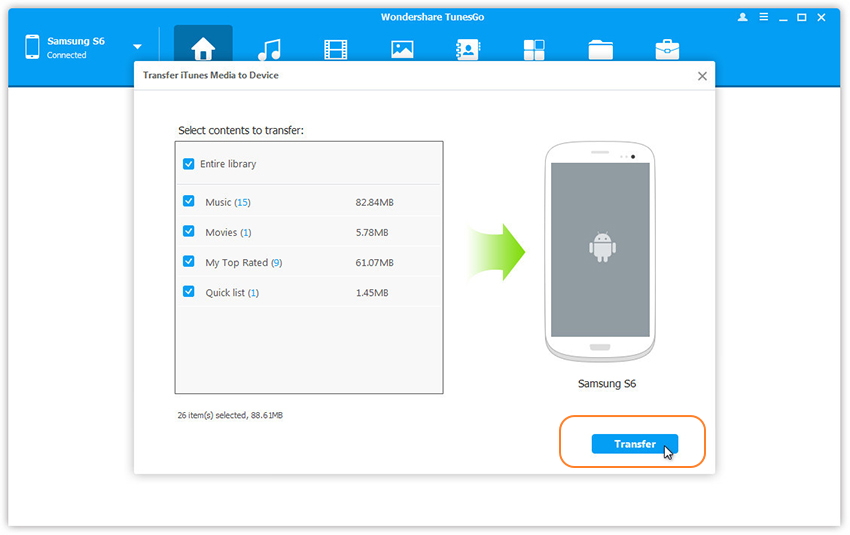
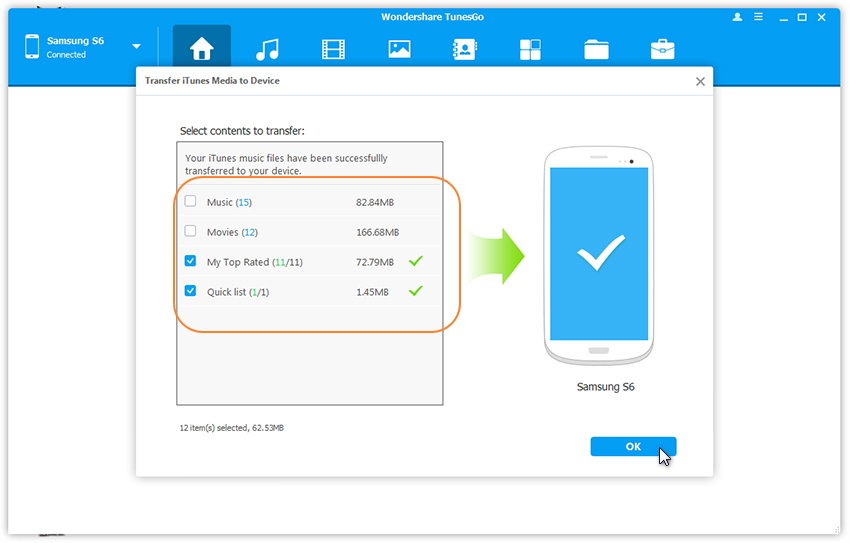
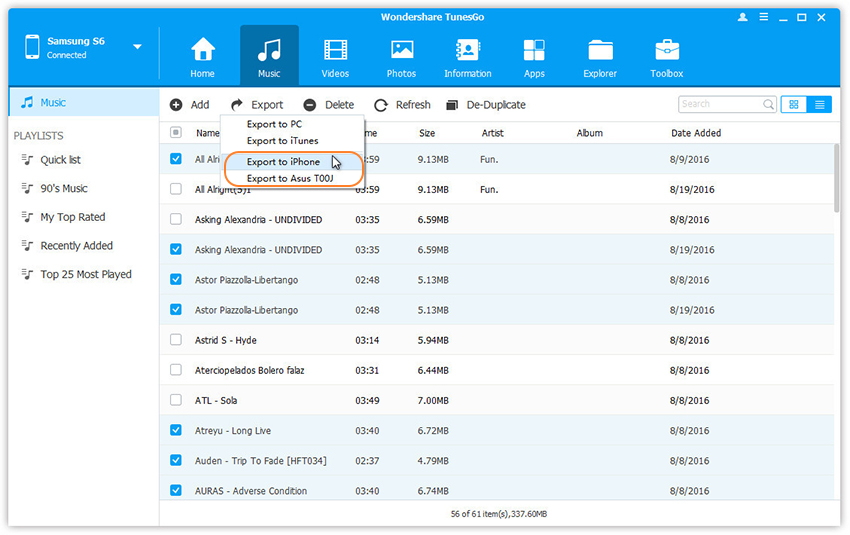
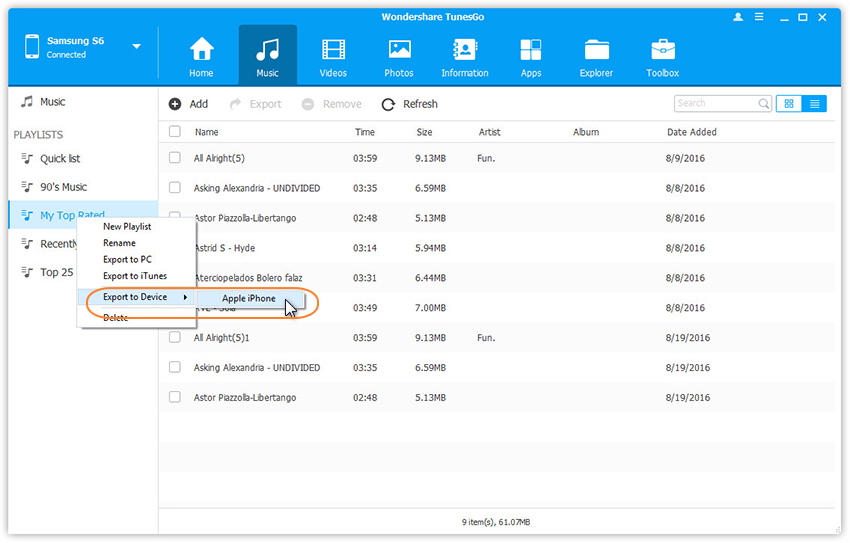
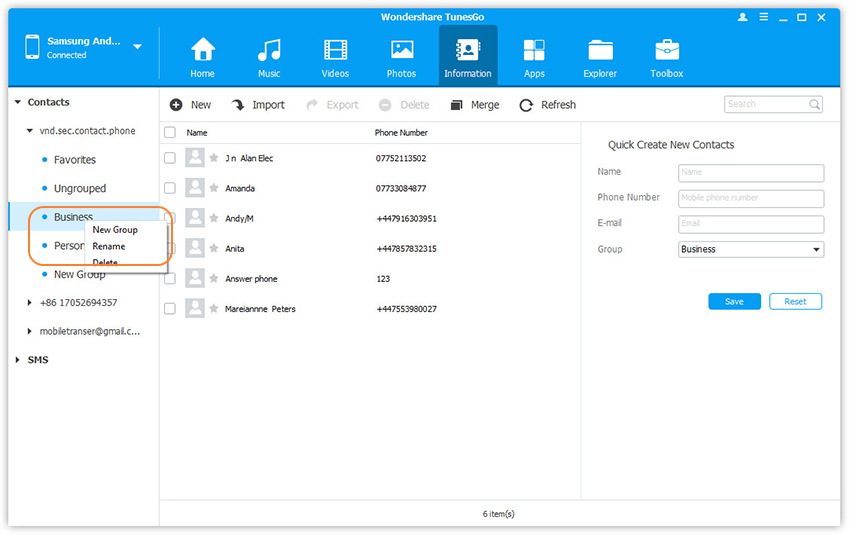
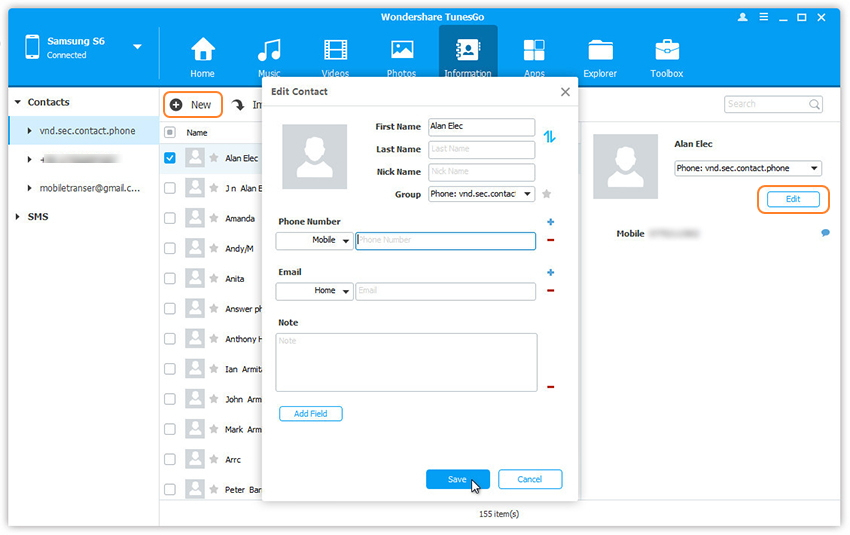
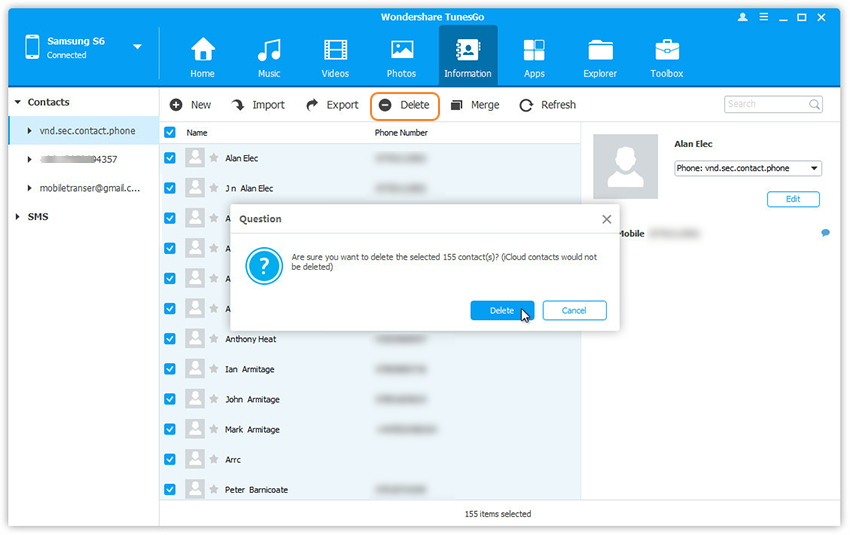
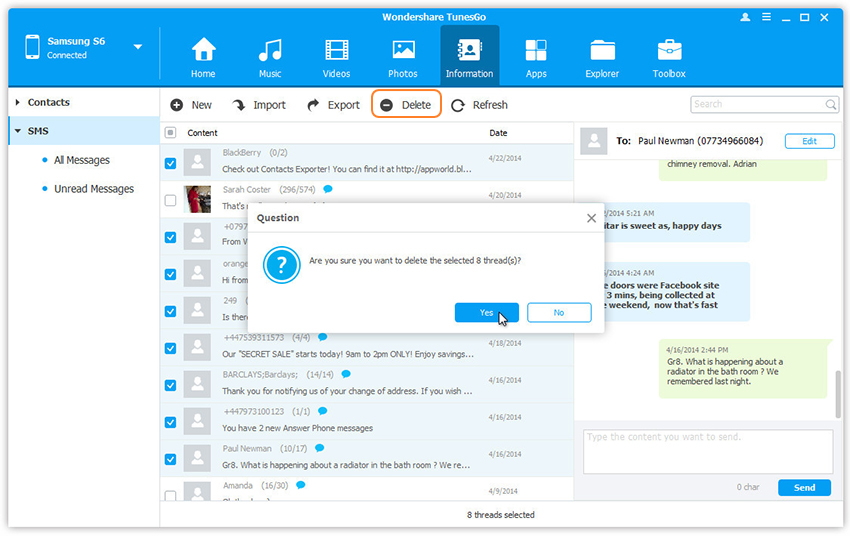
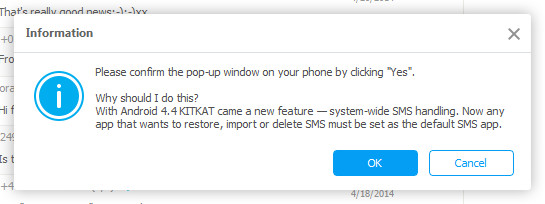
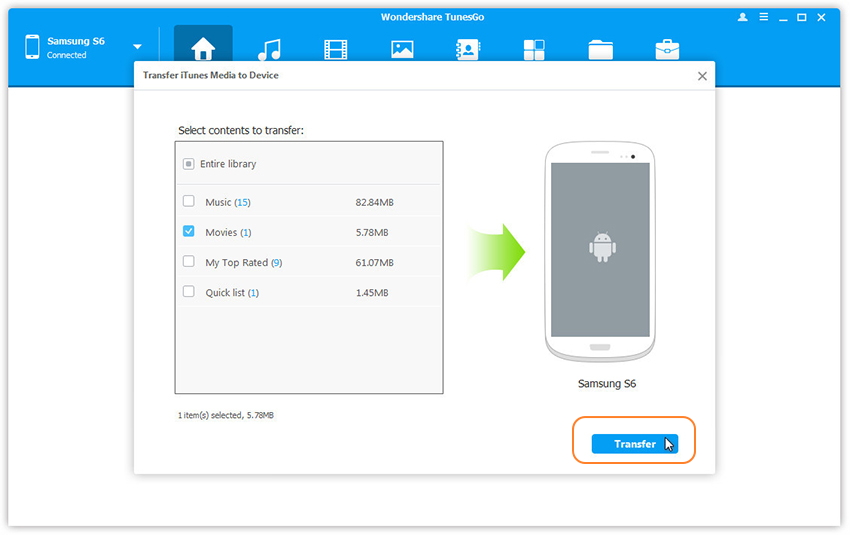
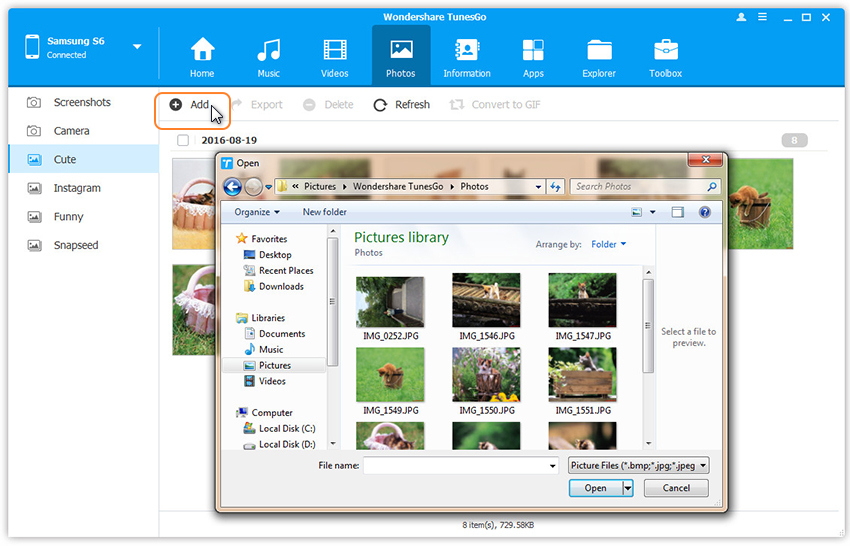
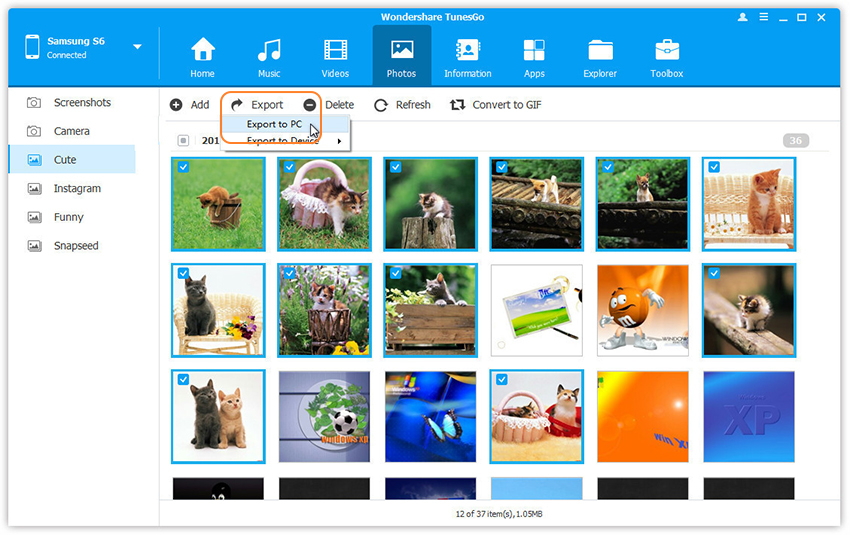
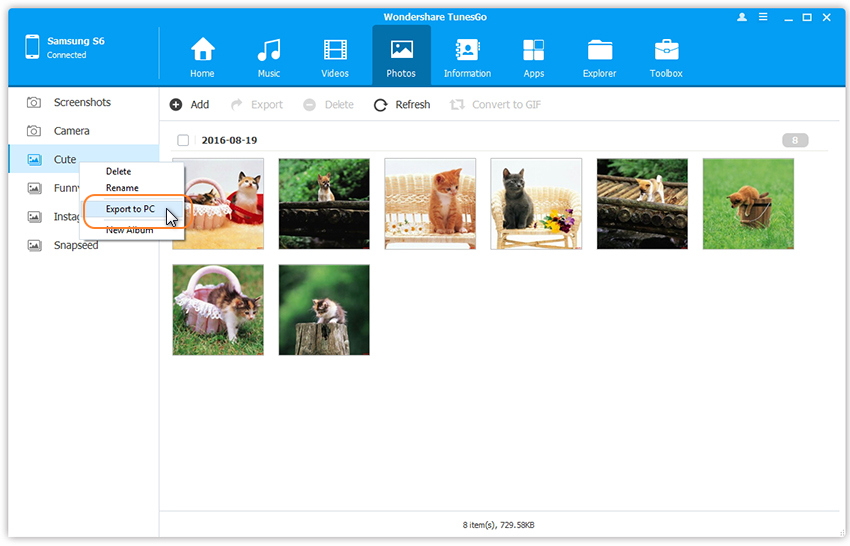
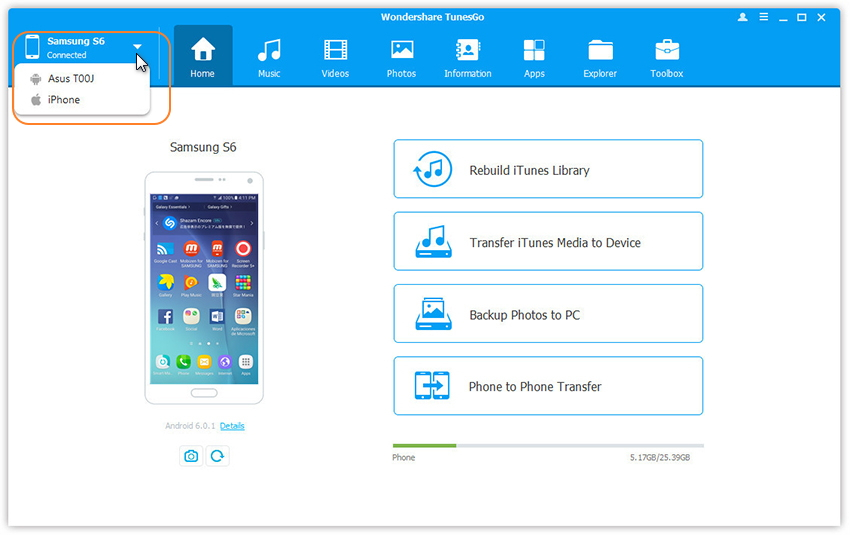
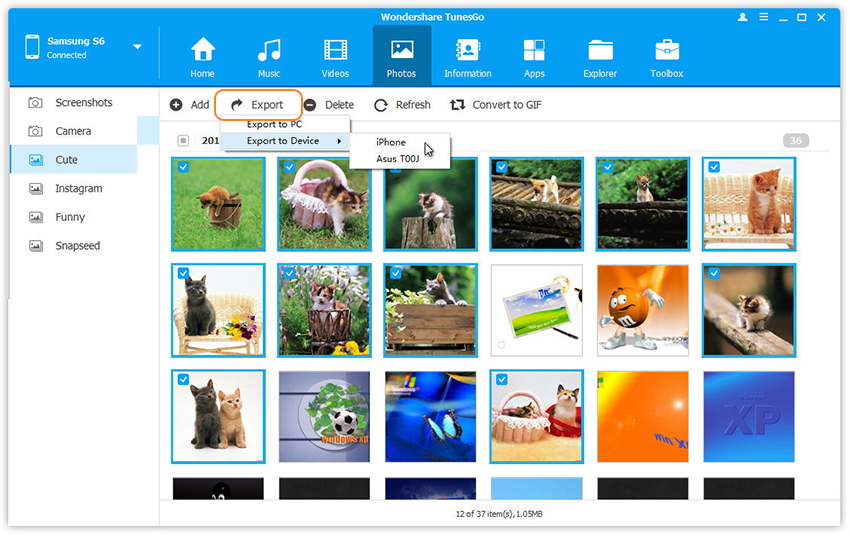
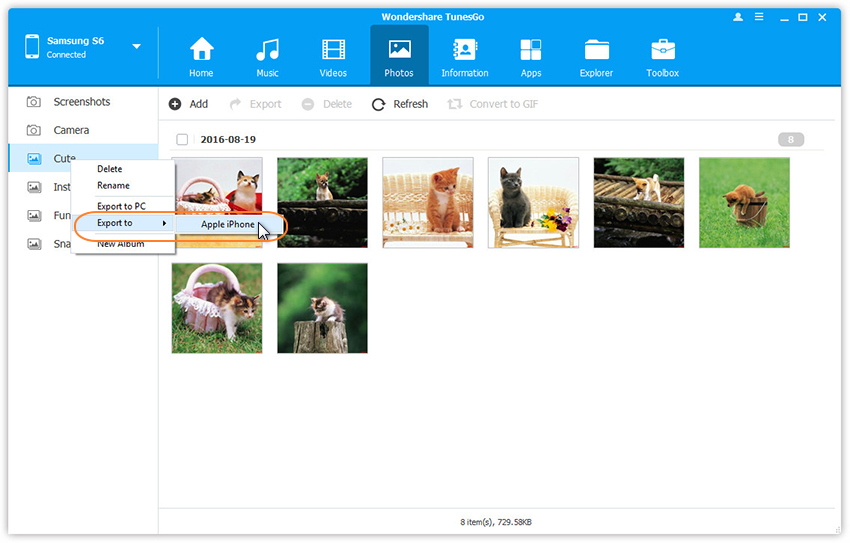
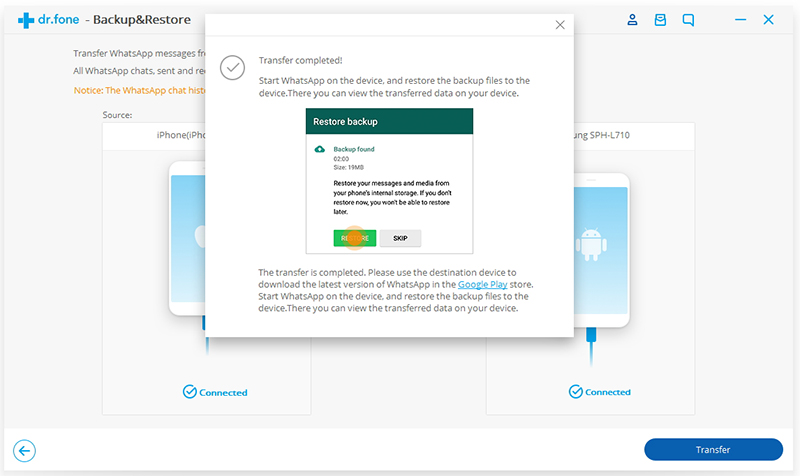
Extra tips:How to Transfer Samsung Data to Google Pixel Phone
Then the process will keep going and owners can sit and wait, or continue setting up the Pixel while everything transfers. Once it’s finished simply unplug the cable and start using your phone. Google’s transfer tool even restored all my app icons to the homescreen. Convenience at its finest.
That’s it in terms of setting up your phone. Not all devices are supported, and some homescreens may not transfer. If so, just reorganize the phone and you’re all set.
Setup Lockscreen Security
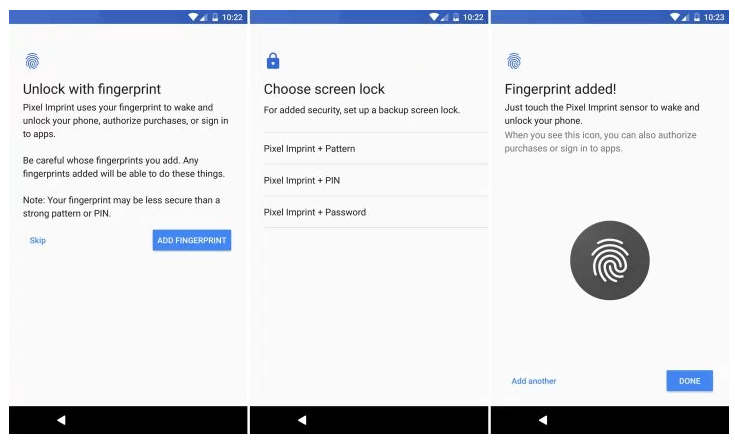
Next up is a step everyone should be familiar with, and is just common sense. Use a lockscreen password, pin, or fingerprint to keep your device safe and secure. The initial setup on the device will prompt you to finish this step, and we’d recommend you do it.
Pixel Imprint on the back of the phone is one of the best fingerprint scanners around. It’s located in an easy to tap spot, and setup is a breeze. It only takes about 20 seconds to do. Start by entering a pin, then tap your finger to the sensor six times to register a print. We’d recommend doing both index fingers for the best setup.
The entire process is fast, easy and secure. Now your device is ready for use and will be protected from prying eyes or in case of theft.
Setup Android Device Manager
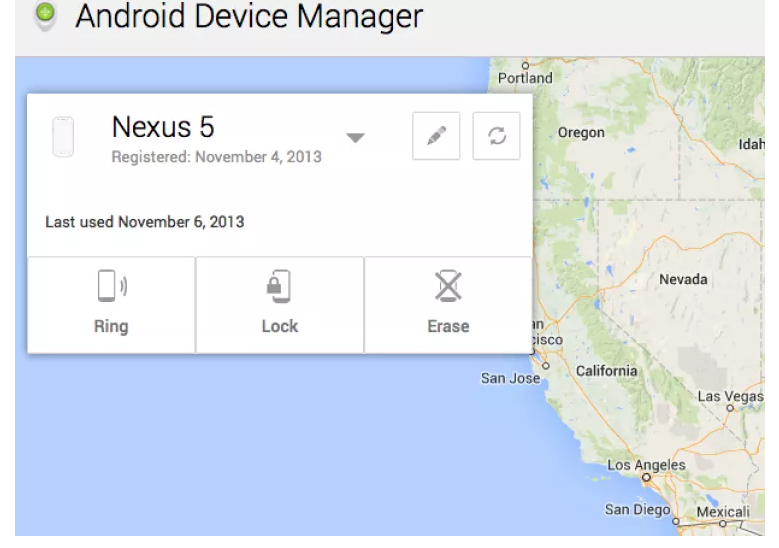
Speaking of loss or theft, the Android Device Manager is your best friend if this happens. It’s a step almost no one takes, but is extremely easy and will save you when something bad happens. Go to the Google Play Store and download the Android Device Manager.
The ADM allows owners to call, lock, or even erase the device if it’s lost, missing, or stolen. It even has an alarm feature to blast the Pixel at full volume if its lost at home. Below is a screenshot of the Android Device Manager on my Nexus 5, but it works the same on all Android smartphones and tablets.
This is important in case of loss or theft. It typically can track a smartphone to within a few meters, and give you almost its exact location. Perfect for finding a lost device. Thankfully there’s also an “erase” feature if its stolen, so someone can’t access important information.
Alternatively owners can add emergency info or a phone number to call if lost right to the lockscreen. Whether this is medical information, call a family member, or a “call if found” number.
Head to Settings > Users > Emergency Info > then add details or a person to contact.
Enable and Use Google Assistant
Previously known as Google Search or Google Now, the Assistant is one of the key selling points for Pixel. Taking everything Google knows about the web, search, your location, machine learning and artificial intelligence. Then blending that into a personal assistant for every Pixel owner.
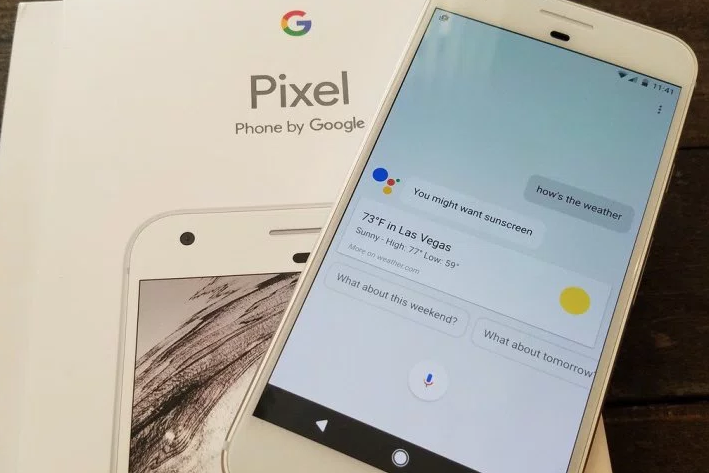
This is shown during the initial setup as well, or can be accessed by a long-press of the round home button on the bottom middle of the screen. Train it to recognize your voice (even when the screen is off) by saying “Ok, Google” three times. It walks you through setup, then will show you all it has to offer.
Tip* Launch the Google Assistant and say “I’m Feeling Lucky” for a neat surprise. It’s better with more than one person, too.
Buy Extra Cables, Chargers or Accessories
Google’s new Pixel phones don’t use the old and outdated micro-USB port that many old phones have. It uses the new and improved USB Type-C. This is faster, cords can plug in both directions for ease of use, and you can even charge other devices from the Pixel through USB-C.
While there are two cables provided in the box, we’d recommend owners pickup a spare for other rooms of the house, or an office. And maybe even some cases and a USB Type-C car charger.
Get Unlimited Storage and Backups of Photo/Video
Google Photos has evolved into one of the best photo and video storage and viewing solutions on mobile. It automatically (or when connected to WiFi) makes a full resolution or HD copy of every picture you take, and is really smart. Ask it to show you photos from last Halloween, and it intelligently finds and shows them to you.
One perk of being the first Google Pixel phone is truly unlimited backups in full resolution, rather than resized to HD. Simply open Google Photos, go through the quick setup and enjoy it. There’s also a free subscription to Google Play Music and YouTube Red for all owners, just open Google Music and accept it.
Quick Launch the Camera
Next up you’ll want to go through and setup everything. Ringtones, call volume, alert sounds and more. However, you’ll also want to get familiar with your new phone. Head to settings and find the option listed as “Moves” and click that. Here it will show owners that a double tap on the power button will instantly launch the world-class 12.3 megapixel camera. This works if you’re in an app, when the screen is off, and everywhere.
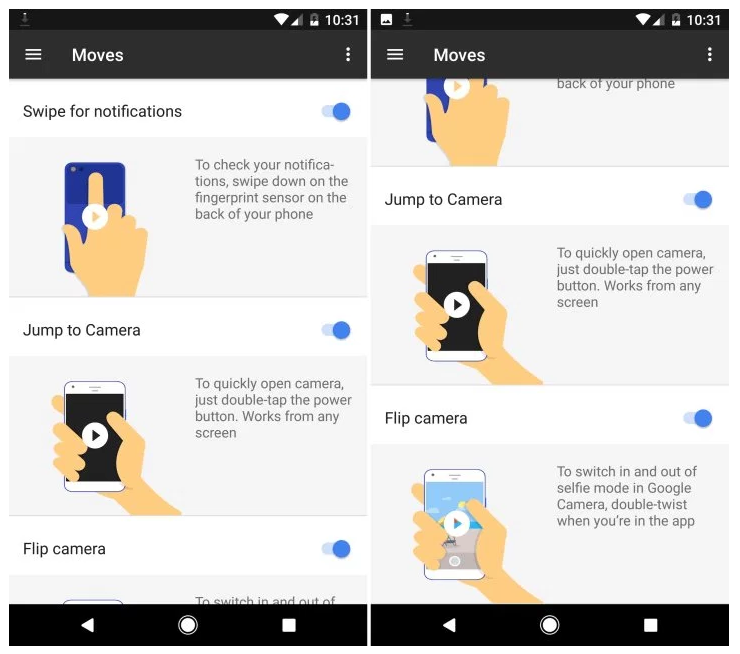
Google also added some other neat gestures like twisting your wrist to switch to the front camera for selfies, or using the fingerprint scanner to access the notification bar one-handed. Give them a try, enable what you want and enjoy.
Setup Do-Not Disturb
One of our favorite features is Do-Not-Disturb. Allowing owners to customize the phone to automatically go silent (or on vibrate) at night. Most don’t know it exists, but love it once they figure it out.
Go into Settings > Sounds > Do Not Disturb and set some rules or or times. Then the phone does everything for you, keeps the phone silent while you sleep, but still sounds an alarm come morning time. There is an option to block visual things like notifications from waking the screen, or the option to allow exceptions so select contacts can still get through. Like a significant other or kids.
Oh, another idea is to setup a feature called “Night Light”. Head into Settings > Display > and select Night Light. This turns the blue LEDs off on the screen at night, and adds a red tint to the display. This prevents eye strain, helps users fall asleep easier, and will make it so the screen isn’t so bright at night. Perfect for laying in bed. Customize it to turn on/off at certain hours of the day, or with the sunrise and sunset. I love this feature. Studies have shown this helps people fall asleep faster at night.
Setup Android Pay
While we’re at it, we’d recommend owners setup Android Pay as well. It works just like Apple Pay, and allows you to swipe your phone to make payments while out and about instead of carrying a wallet. Anywhere that Tap-N-Pay is supported will work with Android Pay.
Find the icon, launch the app, add a credit card and start enjoying mobile payments.
Use App Icon Shortcuts
One of the best features in Android 7.1 Nougat that debuted on the Pixel is Launcher shortcuts. It works similar to the iPhone and 3DTouch, and allows specific actions and tasks to be done easier.
Rather than just pressing the camera icon on your homescreen or app tray, press and hold. You’ll instantly get suggestions to launch the camera and instantly start recording video, or take a selfie. Instead of opening the camera and switching to these options. App shortcuts are brand new to Android and only work with select Google apps for now, but more developers will fully supported this in the near future.
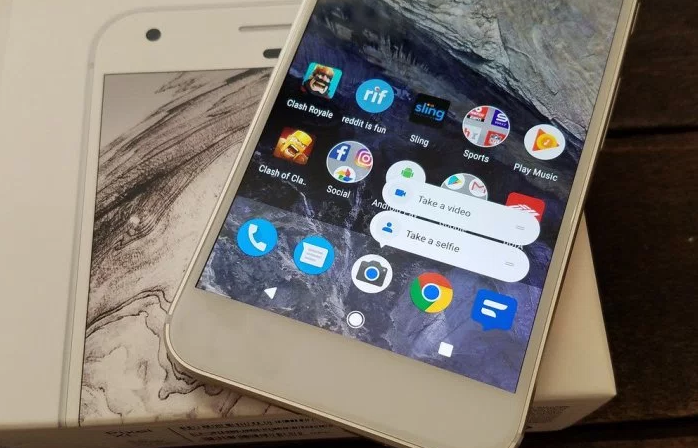
Try it with the messaging app, dialer, maps, Google Music, calendar, Google Keep, clock or alarms and much more. Allowing Pixel owners to do and get more done faster. You can even add all these shortcuts to a folder on your homescreen.
Other Thoughts
Of course everyone is a little different, and most owners will setup the Pixel to fit their own needs. Our steps above will set you up for success, secure the device, help you find a lost Pixel and teach you a few things about the phone all at once.
We’d also recommend buyers pickup a Pixel screen protector, download a bunch of their favorite apps, and explore the settings menu for everything else. If you have any questions there’s a dedicated 24/7 customer support and help line in settings. Swipe to the right and instantly call, email, or even chat with a customer support representative.
A few other ideas are to set mobile data limits, test out how great the camera is, customize the notification bar by moving icons around as you see fit, or change your wallpaper to one of the many awesome new choices pre-installed on the phone. You’re all set now, so enjoy the Google Pixel.
Read More:
How to Backup & Restore Data on Google Pixel Phone
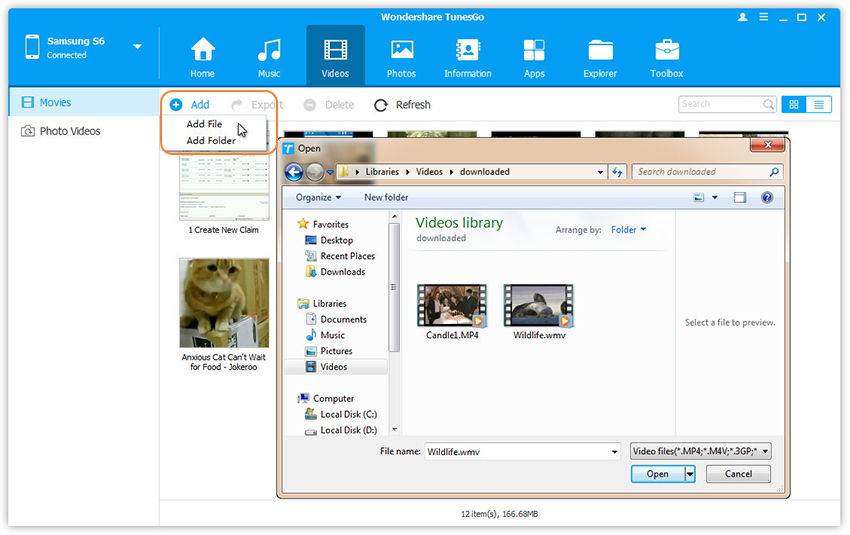
How to Transfer Music and Videos to Google Pixel Phone
How to Transfer Music between iTunes Library and Google Pixel Phone
How to Transfer Music from Computer to Google Pixel Phone
