“I switch to a new Samsung phone lately. I want to sync my iTunes media files to the new device which synced with my old iPhone. Please send me your idea. BTW, my phone is Galaxy Note 9.”
“How to backup photos from Galaxy Note 9 phone to the computer with one-click? Any reliable phone manager tool can help?”
There is no denying that Samsung phone has become one of the most popular smart phones all around the world. Every year it will announce several of new phone models. As a strong opponent to iPhone, Samsung has released some hot models, Galaxy Note 9 is one of them, Samsung phone become more and more popular in these years. People can do almost everything on the smartphone, take photos, mark notes, make calls, listen to music, watch videos, surf the Internet, chat with others, shopping, etc,.
But with more and more features of the smartphone and people staying with them longer and longer, managing them is not an easy task at all with large of data. With so many powerful applications, the smartphone enable us to live a more colorful and convenient life. Using a improper way to manage files in the Android phone can make it a mess. It is trouble to manage phone data without a reliable solution. So here comes your helper – Samsung Galaxy Manager, which is highly recommended for you to do the managing job of Samsung Galaxy Note 9.
Manage & Transfer Files for Samsung Galaxy Note 9
Android Transfer – Samsung Galaxy Manager is an ideal software to manage & transfer files for Samsung Galaxy Note 9 on the computer. It offer a secure solution for you to transfer files between Android and the computer; transfer files between Android and iTunes; transfer files between Android and Android/iOS device. The kinds of transferable files including Music, Photos, Videos, Contacts, SMS and playlist. Besides to manage and transfer files for Android device, it has extra features with rebuild iTunes library, GIF maker, one-click root. It compatible with almost all Android models, such as, Samsung(Galaxy Note 9/8/5), HTC, LG, Lenovo, Huawei, Google Pixel, ZTE, OPPO, Motorola, Xiaomi, etc,.


In the follow section we will take “Photos” as an example to explain how to do the files transfer between Samsung Galaxy Note 9 and computer via Android Transfer – Samsung Galaxy Manager.
Part 1:Backup Photos from Samsung Galaxy Note 9 to Computer
Step 1. Run Program and Click on “Photos” Option
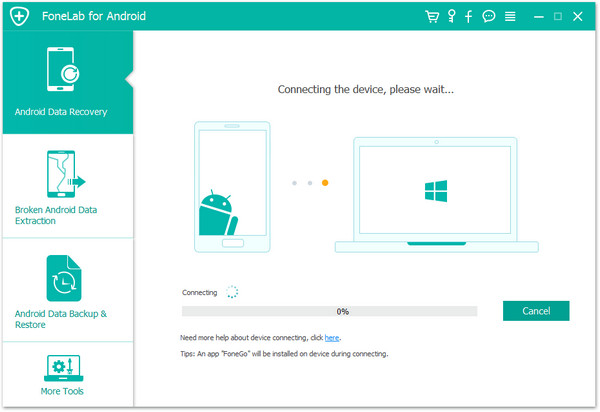
Run Android Transfer – Samsung Galaxy Manager on computer, Click “Transfer” in the home page of program.


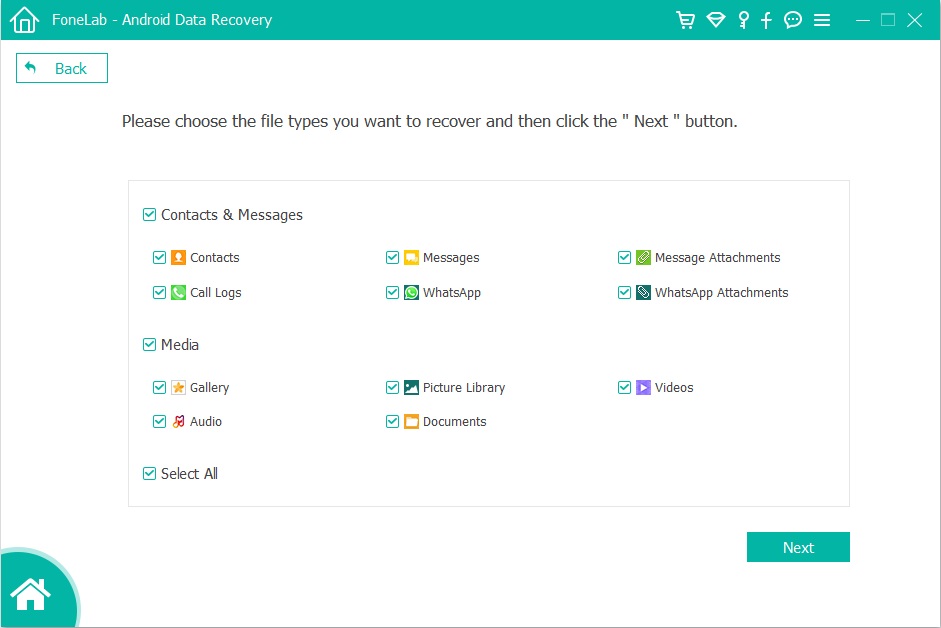
In the “Photos” management window, choose photos you want to backup, and click “Export” > “Export to PC“.

Step 2. Backup Photos from Samsung to Computer
It will bring up your file browser window. Select a save path to store the photos from your Samsung phone to computer.
You can also transfer the whole photo album from Samsung to the computer.


Part 2:Transfer Photos from Computer to Samsung Galaxy Note 9
Step 1. Run Program and Click on “Photos” Option
Run Android Transfer – Samsung Galaxy Manager on computer, Click “Transfer” in the home page of program.
Click “Photos” tab. All the albums will be displayed. Select one folder to store new added photos on your Samsung phone.

Step 2. Transfer Photos from Computer to Samsung Phone
Click “Add” > “Add File” or “Add Folder“.
If you only want to select some photos, then click “Add File“. You can create new albums and add photos in it. Simply right-click the photos category on the left panel, then click “New Album“.

If you want to transfer all the photos in one folder, then click “Add Folder“.
Now select photos or photo folders and add to your Samsung phone. Hold down “Shift” or “Ctrl” key to choose multiple photos.

Related Articles:
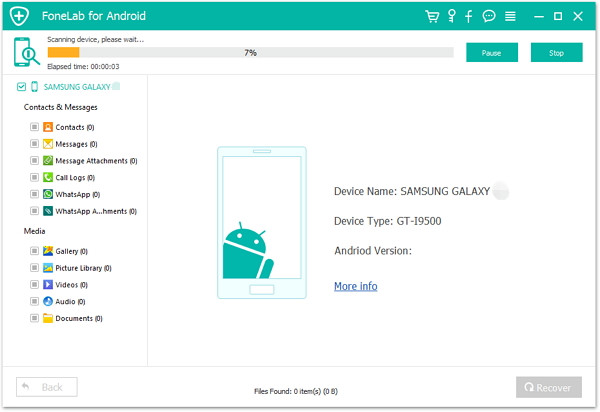
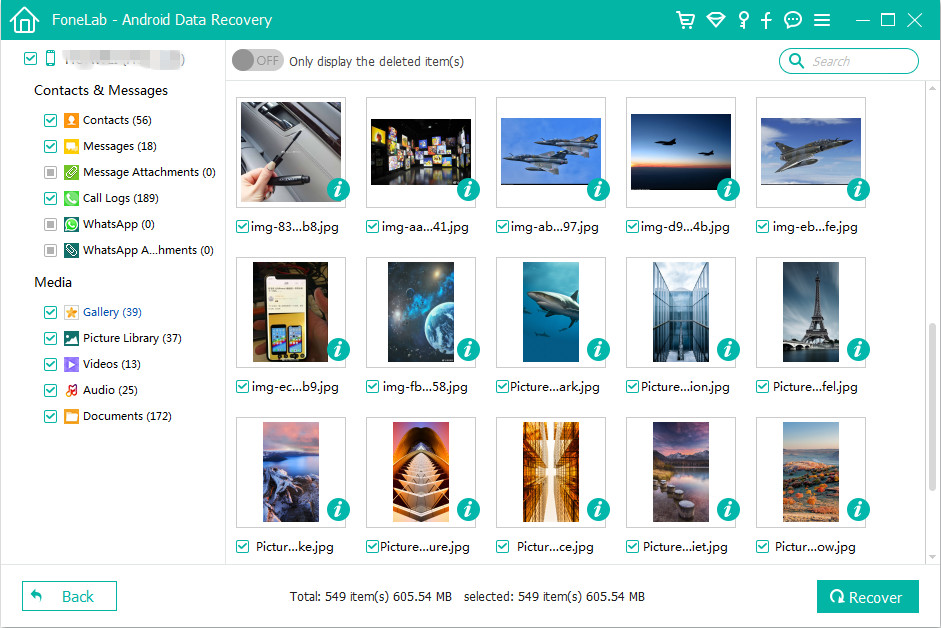
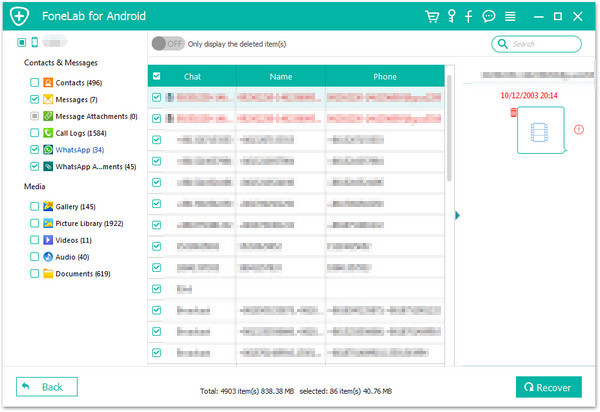
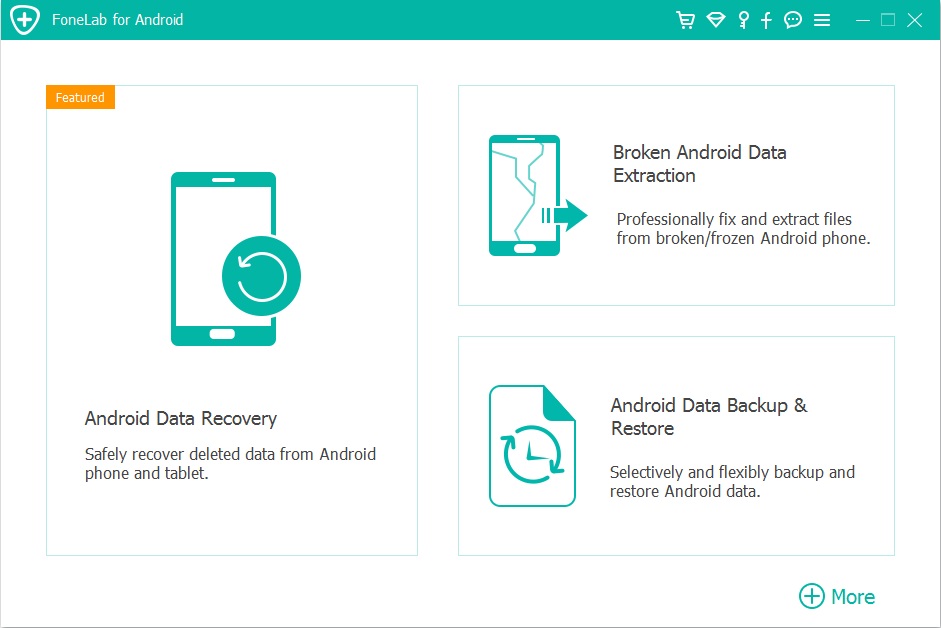
How to Recover Deleted Data from Samsung Galaxy Note 9
How to Transfer iTunes Music to Samsung Galaxy Note 9
How to Transfer iTunes Videos to Samsung Galaxy Note 9
How to Backup & Restore Samsung Galaxy Note 9
How to Root Samsung Galaxy Note 9 with One Click