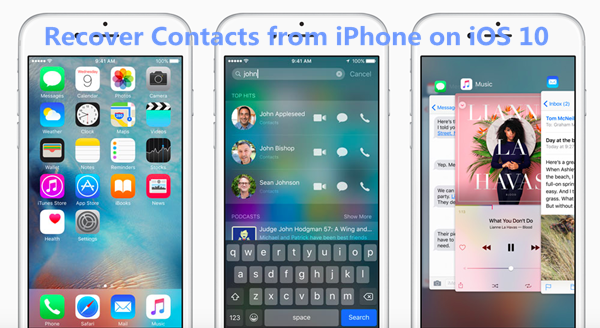
Contacts Gone after an iOS 10 Update?
“Help!ios 10 update lost contacts.Yesterday,I updated my iPhone 7 to iOS 10.3 and some iPhone contacts disappeared,how can I get contacts back from iPhone 7 after iOS 10 upgrade?” — Asked by Chirstal
Various kinds of discussions for one common issues in forum or online community about “lost contacts after ios 10.3/10.2/10.1 update” suddenly,is there any constructive solution to retrieve deleted or lost contacts from iPhone with iOS 10?iPhone Contacts disappeared due to iOS 10/9 update are not the surprised troublesome issue I ever meet.For my experience,you can recover deleted iPhone contacts data on iOS 10.
Restore Lost from iPhone After iOS 10 Upgrade
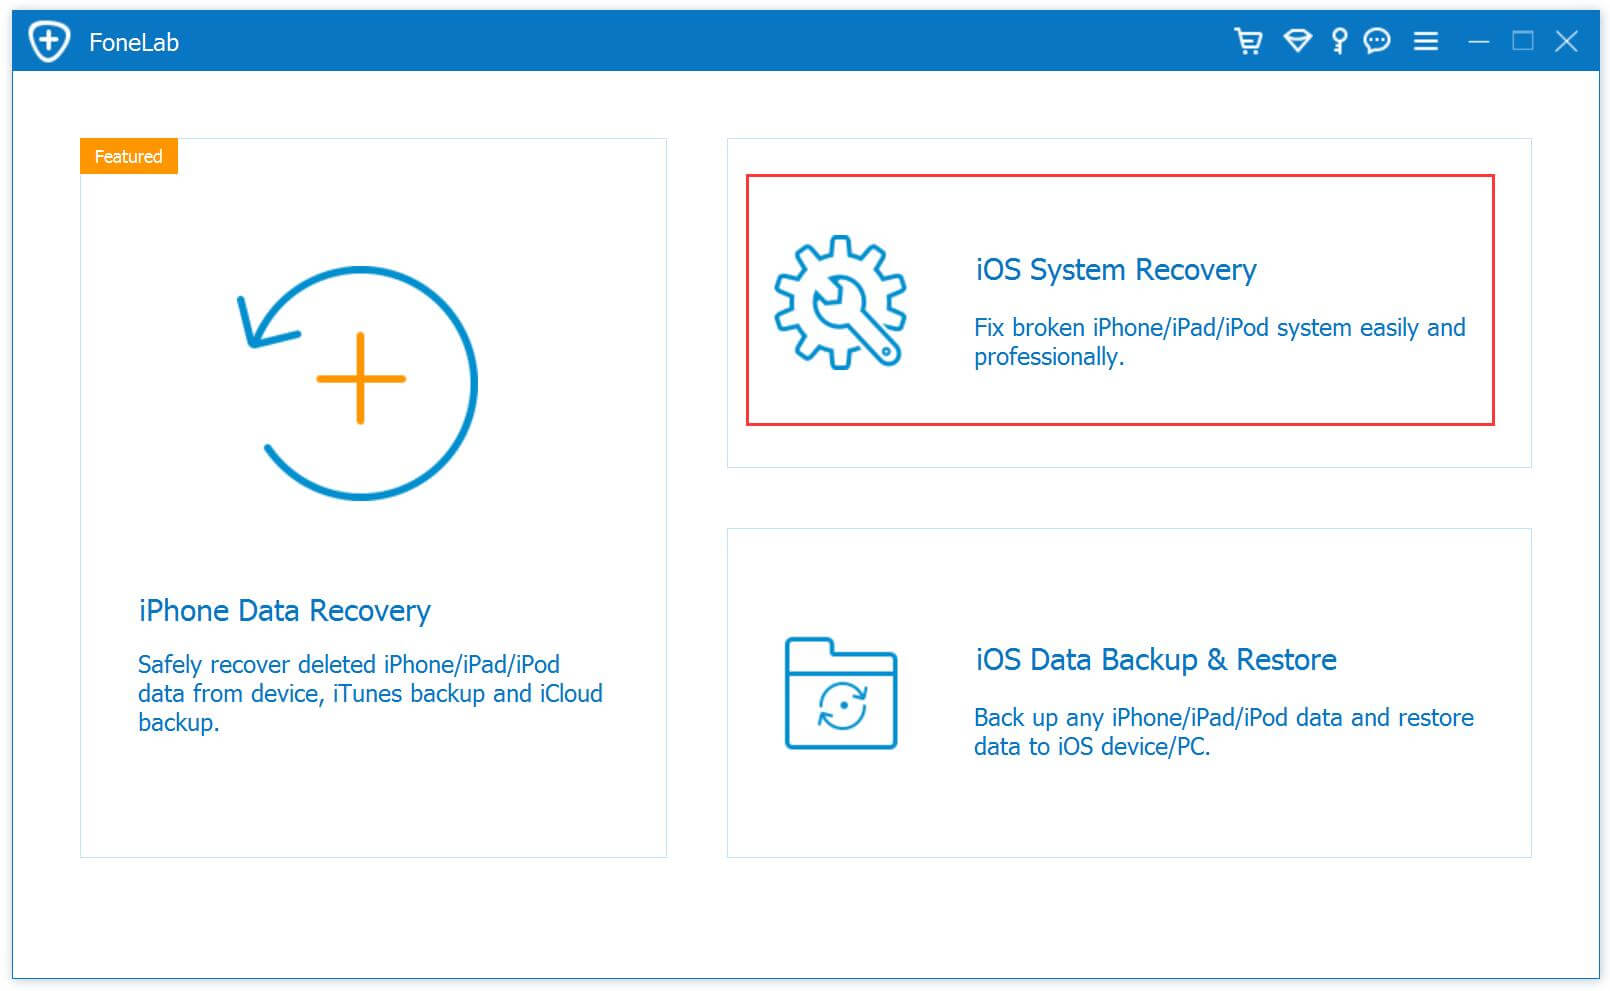
Here I recommend the iOS 10 Data Recovery for you.Now, there is no need to feel depressed any more.Yes,you can restore deleted contacts from iPhone after iOS 10 update as simple as possible via this amazing iPhone data recovery tool.Besides contacts,it also can help you recover lost text files,like contacts, text messages, iMessages, call history, safari history,bookmark, notes, WhatsApp messages, Kik/Viber/Line/Skype/Wechat messages,as well as media files,such as photos, videos, App photos, App videos and more from iPhone with iOS 10.3, iOS 10.2, iOS 10.1 and iOS 9.What’s more,the iOS 10 Data Recovery works well with iPhone 7 and iPhone 7 Plus in iOS 10.3,here learning how to recover deleted contacts from iPhone 7/7 Plus.


iOS 10 Data Recovery Key Features:
-3 recovery modes to retrieve data:recover from iDevice,recover from iTunes backup and recover from iCloud backup.
-Recover photos, messages, contacts, as well as App data like WhatsApp conversations, iPhoto, Instagram etc,.
–Backup and restore data from iPhone, iPad and iPod.
-You can choose to extract recovered data to PC or save to device.
-Fully compatible with iOS 10/9/9.3/8 and the latest iOS devices(the latest iOS 10.3 included).
-Both Windows and Mac version are all available.
Part 1:How to Recover Lost Contacts from iPhone after iOS 10/10.2/10.3 Update
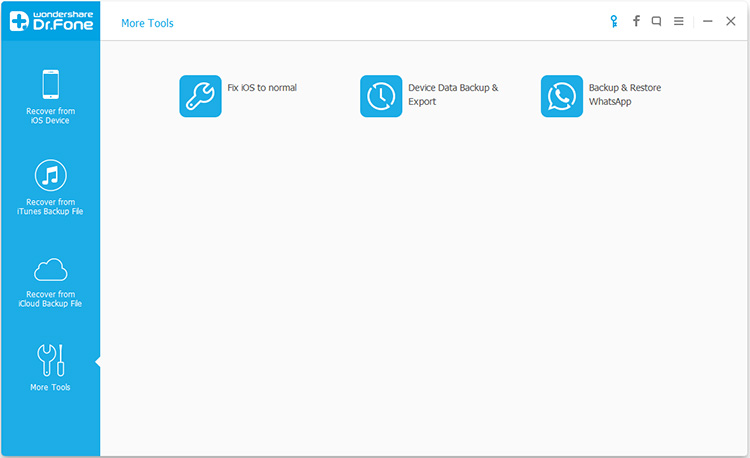
The iOS 10 Data Recovery contains several data recovery modes,including “Recover from iOS Device”,”Recover from iTunes Backup”,”Recover from iCloud Backup”,”Smart Recovery”.The “Smart Recovery”help to recover data when you don’t know which is your data loss circumstance.
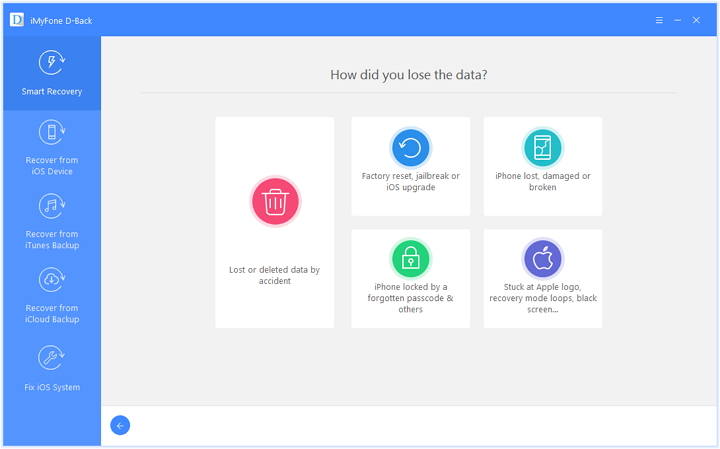
Note:This recovery mode allows to scan device directly to find and restore all the lost lost data from your lost/broken device also.
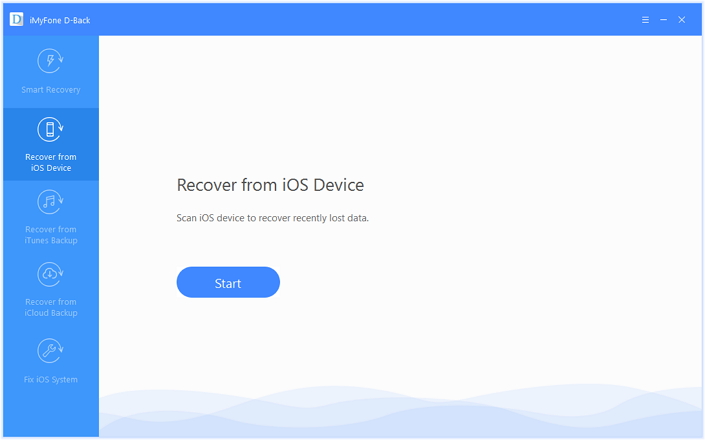
Step 1.Connect iPhone to Computer and Run iOS 10 Data Recovery
Firstly connect iPhone to PC.Launch iOS 10 Data Recovery software,you will be able to see 3 recovery modes.Click on the mode “Recover from the iOS device“.

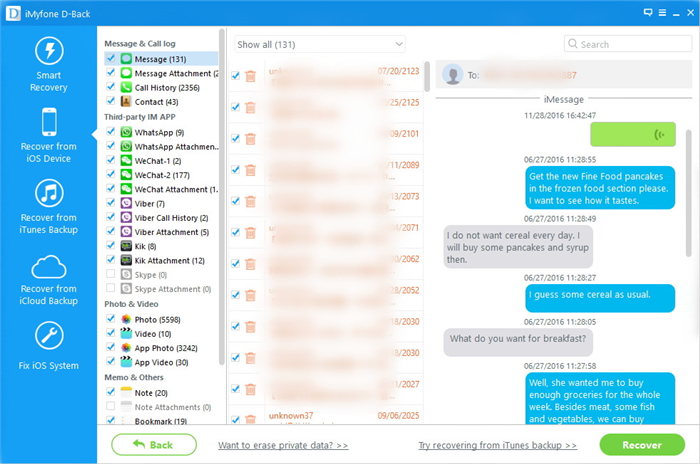
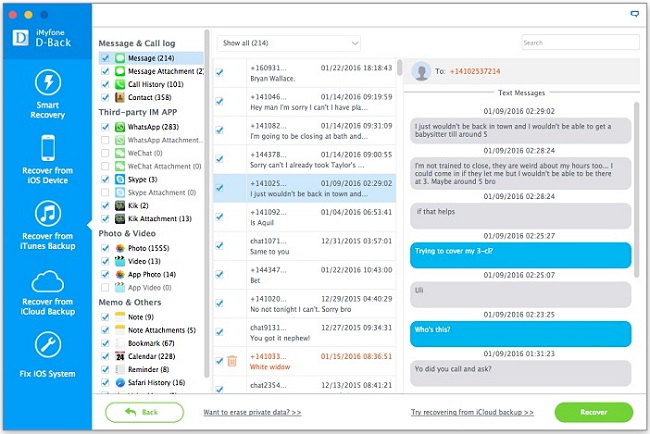
Step 2.Scan iPhone for Recovering Lost Contacts
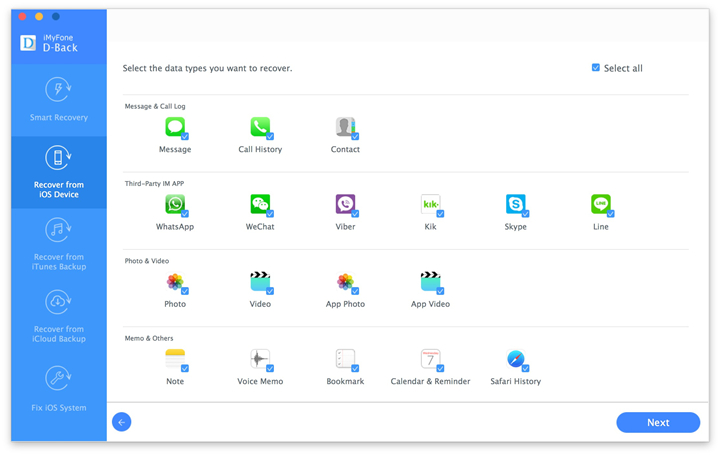
Once your iPhone is detected,click on the “Next” button to start analyzing your iPhone after selecting the scanning file types(here you should choose”Contacts“).Always make sure that the device is connected to keep the scan progress going on and avoid unnecessary termination of the process,otherwise it will start again.
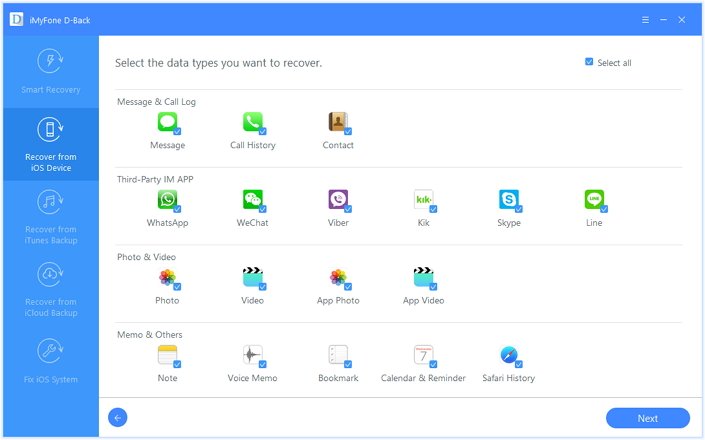
Click “Scan” to search for your deleted data,then the program begins scanning your device automatically for lost/deleted data.
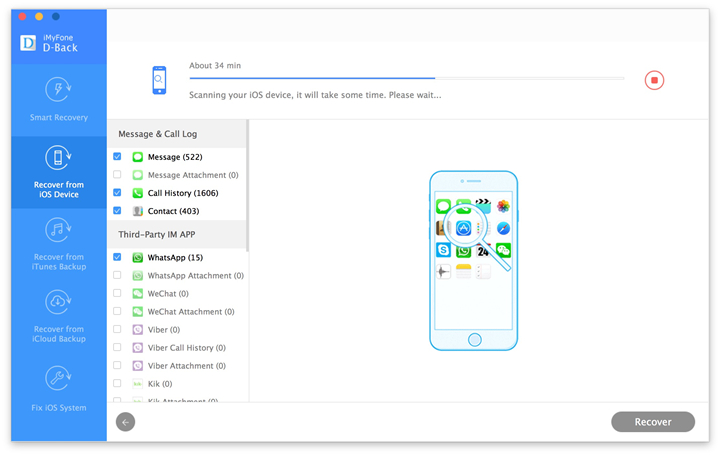
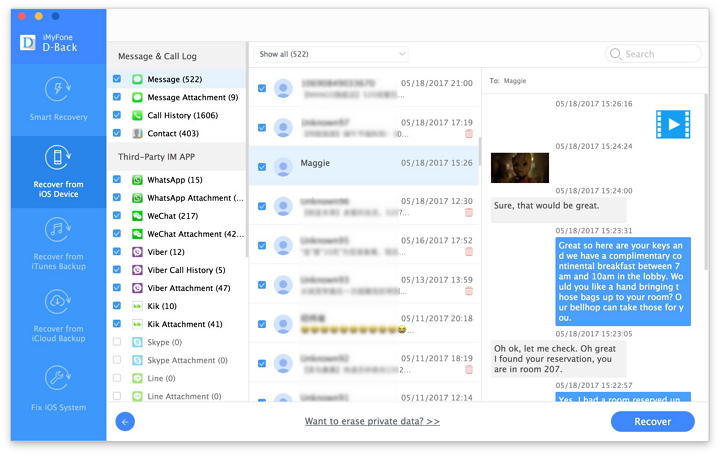
Step 3.Preview and Recover Lost Contacts from iPhone
After finishing the scan,you will be able to see the different categories of data to be recovered.Now you can preview the contacts in details and select the ones or more in “Contacts” file to recover.You can also tap on the other categories and recover other lost data from iPhone in one time.Finally,please recover on your iPhone in iOS 10 by click “Recover” button,only few seconeds,all of your lost contacts be saved on the computer.
Part 2:Recover Lost iPhone Contacts from iTunes Backup after iOS 10 Upgrade
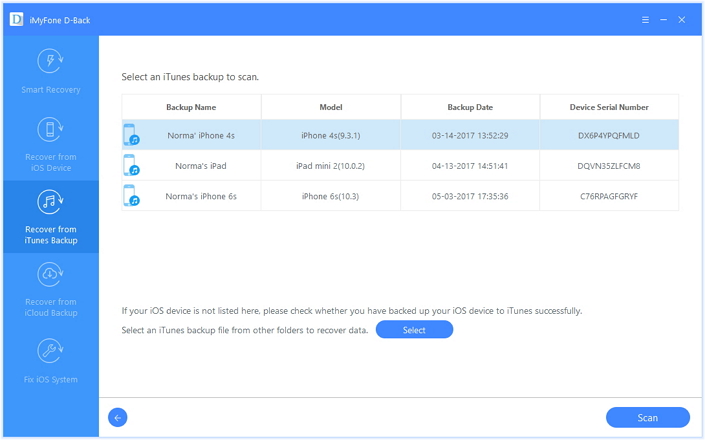
Step 1.Scan the iTunes backup File
If you ever synced several iOS devices with iTunes before,more than one backup files will be displayed in the windows after you click “Recover from iTunes Backup File” mode.Connect iPhone with computer,choose the one for your iPhone and click “Scan”.
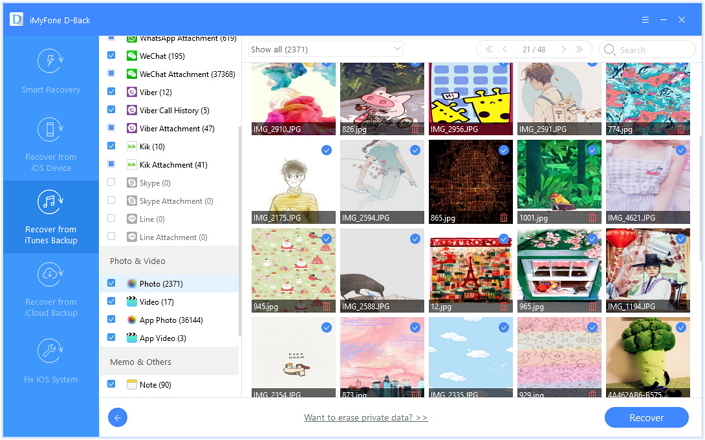
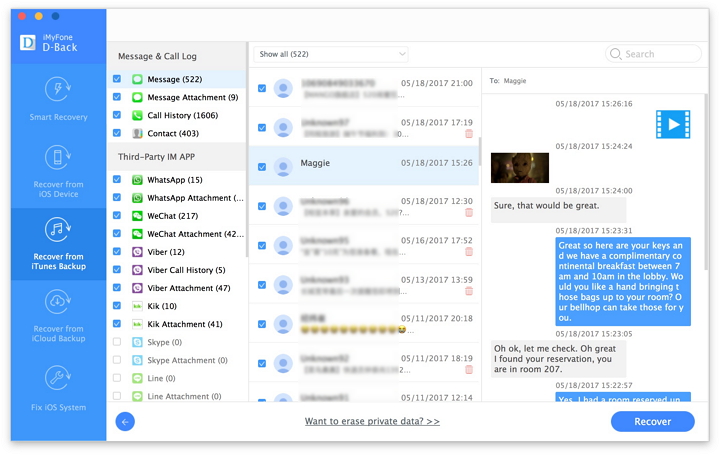
Step 2.Preview Lost Contacts from iTunes Backup File
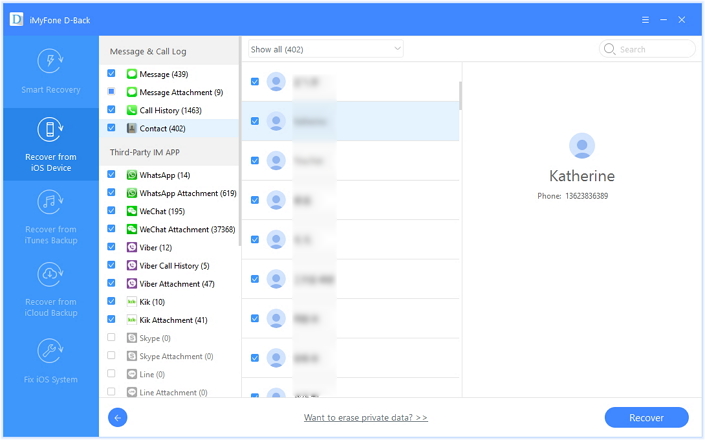
In this step all contents from the backup file including contacts,messages,call history, notes, photos,videos and more will be displayed in detail.You can preview them right now.
Step 3.Recover Lost Contacts on iPhone from iTunes Backup File
To recover iPhone lost contacts after updating to iOS 10.3/10.2/10.1,check the “Contacts” items on the checkbox,then all contents will show up,just choose those data you would like to recover,and click “Recover” button.You will get two options after you click “Recover” button,” Recover to Computer” or ” Recover to Device”.
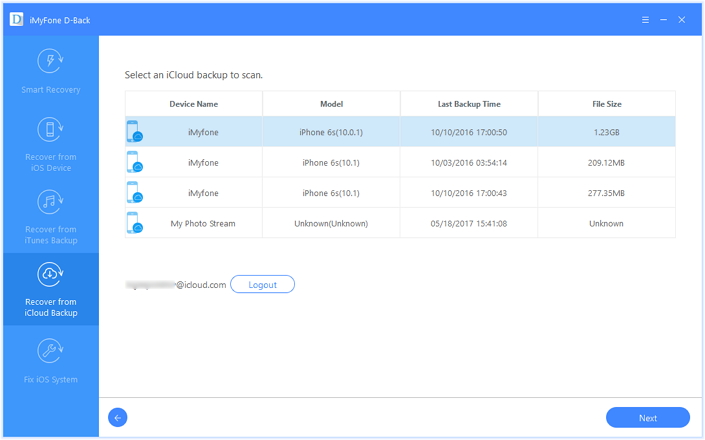
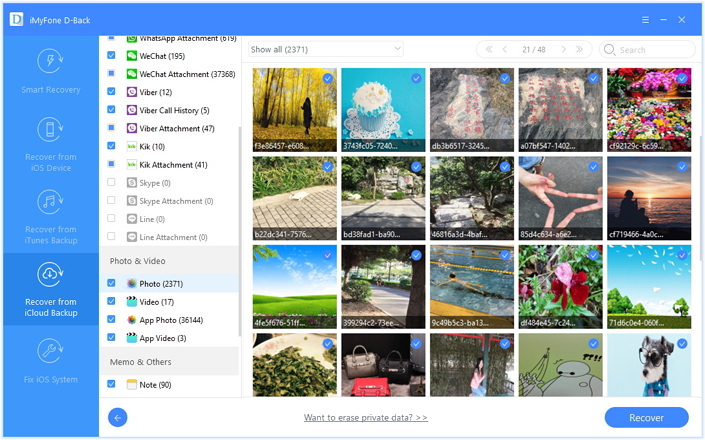
Part 3:Recover Lost iPhone Contacts from iCloud Backup after iOS 10 Update
Step 1.Sign in iCloud Account
After you click “Recover from iTunes Backup File” in the mainpage of the program,you will be prompted to sign in to Cloud.Please sign in your iCloud account.
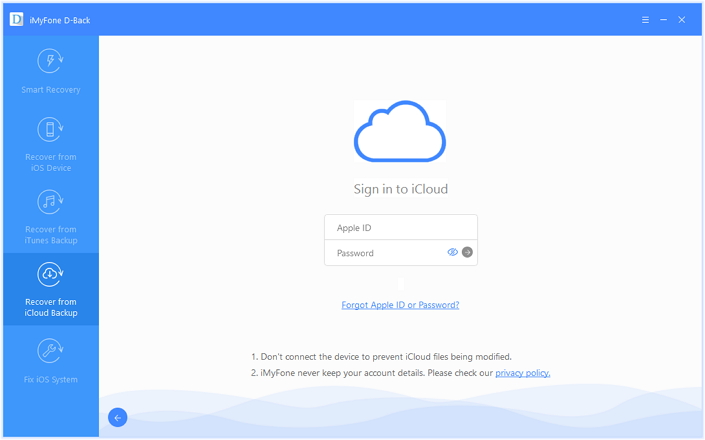
Note:please do not connect the device to your computer during the recovery to prevent the iCloud file from being updated.
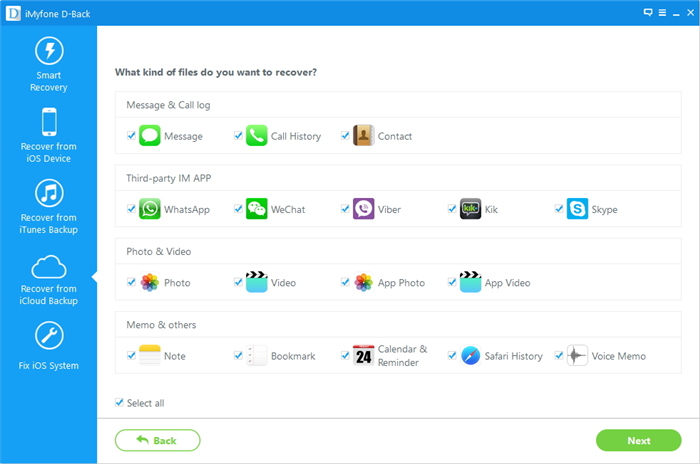
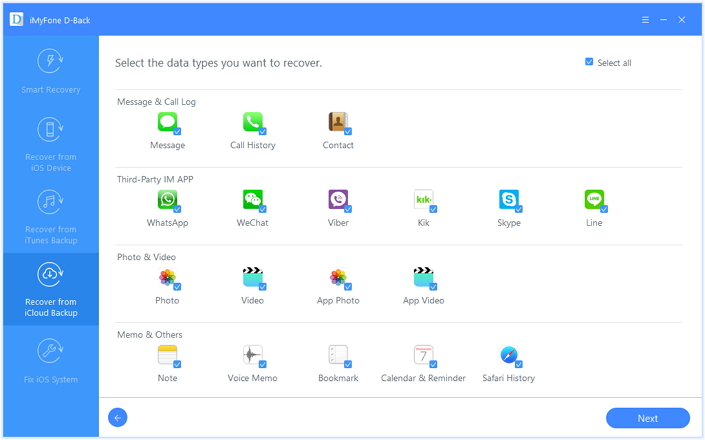
Step 2.Extract iCloud Backup Files
Click the files you need to get back and then click “Next”to extract files from iCloud backup files.
Step 3.Download Select iCloud Backup Files
Click “Next” button to download all the backup files from iCloud, and move on to the next step.

Step 4.Preview and Recover Lost Contacts from iCloud Backup
You will get two options after you click “Recover” button to restore the data from iCloud backup,”Recover to Computer” or ” Recover to Device”.
How crazy the iOS 10 is,if you are going to upgrade your iPhone 7/7 plus/SE/6S/6/5S/5C/5 to the newest iOS 10,please do remember to backup data from iPhone completely.When you lost data on iPhone after iOS 10/9 upgrade,ask help of iOS 10 Data Recovery,it must never lose your hope.
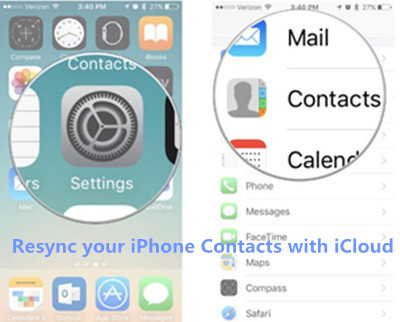
Part 4:Restore Lost iCloud Contacts Back on your iPhone
Contact info disappeared from iPhone after iOS 10 update? You can resync your iPhone with iCloud.
If you have sync your iPhone to iCloud before,after upgrading your iPhone to iOS 10 and found all contacts missing.Please don’t worry,you can reset your contacts to sync with iCloud on your iPhone easily.If you’ve recently signed out of iCloud on iPhone, you’re going to have to manually change your default account settings for the Contacts app.
Step 1.Tap Settings on your iPhone.
Step 2.Slide the screen to the Contacts option,and tap Contacts.
Step 3.Tap Default Account.
Step 4.Tap Add Account
Step 5.Tap iCloud and sign in iCloud account with iCloud ID and password.
Step 6.Restore those lost contacts from iCloud back to your iPhone.

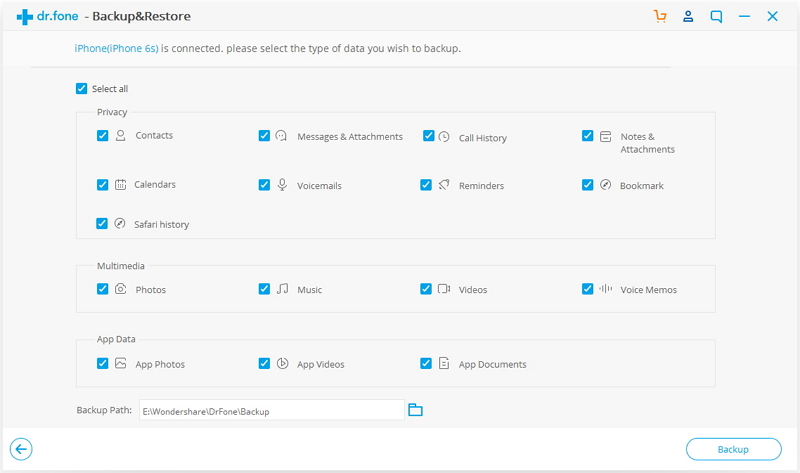
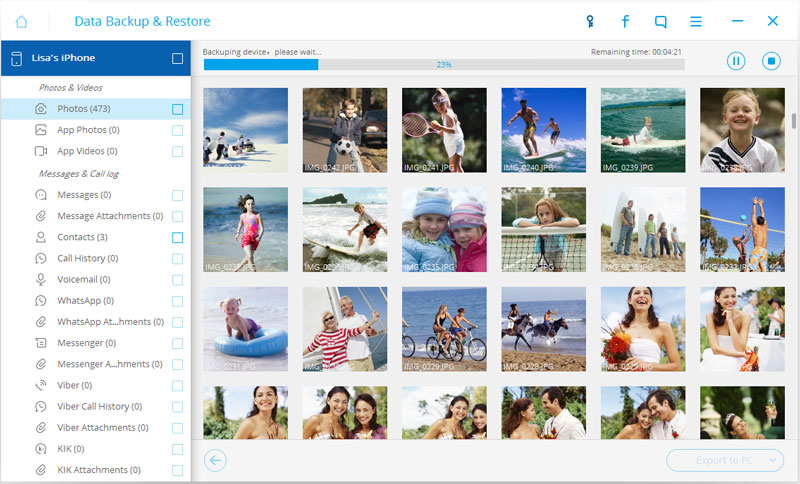
Tips:It’s necessary to back up your iPhone before installing iOS 10.3/10.2,to avoiding ios 10 update lost contacts,here’s a effective iPhone data backup tool on manually backing up your contacts data quickly,as well as SMS, photos, videos, music and other data supported.However, before you upgrade the iPhone to iOS 10,it’s a good idea to make sure you’ve got a full backup of your iPhone, just in case something goes wrong and erase your important data.
Related Guides & Tips:
How to Recover Lost Data from iPhone/iPad after iOS 10 Update
How to Export Files from iPhone 7/6S/6 to Computer
How to Recover Lost Contacts from iPhone after iOS 10/9 Jailbreak
How to Recover Lost Contacts from iPhone after iOS 9 Update
How to Recover Lost Photos from iPhone after iOS 10 Update
How to Recover Deleted Photos on iPhone 7/6S